
A keyboard can look clean at first glance while hiding crumbs, dust, hair, and skin oils between the keys.
After a busy week of work, gaming, or school, that buildup can make your keyboard feel less pleasant to use. I like keeping mine clean with a few simple steps instead of waiting until the dirt becomes hard to remove.
Learning how to clean a keyboard does not have to take much time or special tools.
From a quick surface wipe to a deeper clean under the keycaps, the right method can help keep your keyboard fresh, comfortable, and ready for daily use.
What is the Best Way to Clean a Keyboard?
The best way to clean a keyboard depends on how dirty it is. For daily dust and fingerprints, turn the keyboard upside down to shake out loose crumbs, then use compressed air in short bursts to clear the gaps between keys.
Follow with a microfiber cloth lightly dampened with isopropyl alcohol to wipe away oils and grime. This quick method works well every two to four weeks.
If dirt has built up under the keycaps, a deeper clean with keycap removal gives better results, and it can also resolve keyboard delay and typing lag that buildup sometimes causes.
Always unplug the keyboard first, and let every part dry completely before you plug it back in and start typing again.
Before You Clean Your Keyboard
A little prep goes a long way here. Unplug wired keyboards first, or turn off wireless models and remove the batteries if they come out.
Then, before any keycaps come off, snap a photo of the current layout. It makes reassembly much easier later, especially on compact keyboards or ones with stabilizer keys and unusual layouts.
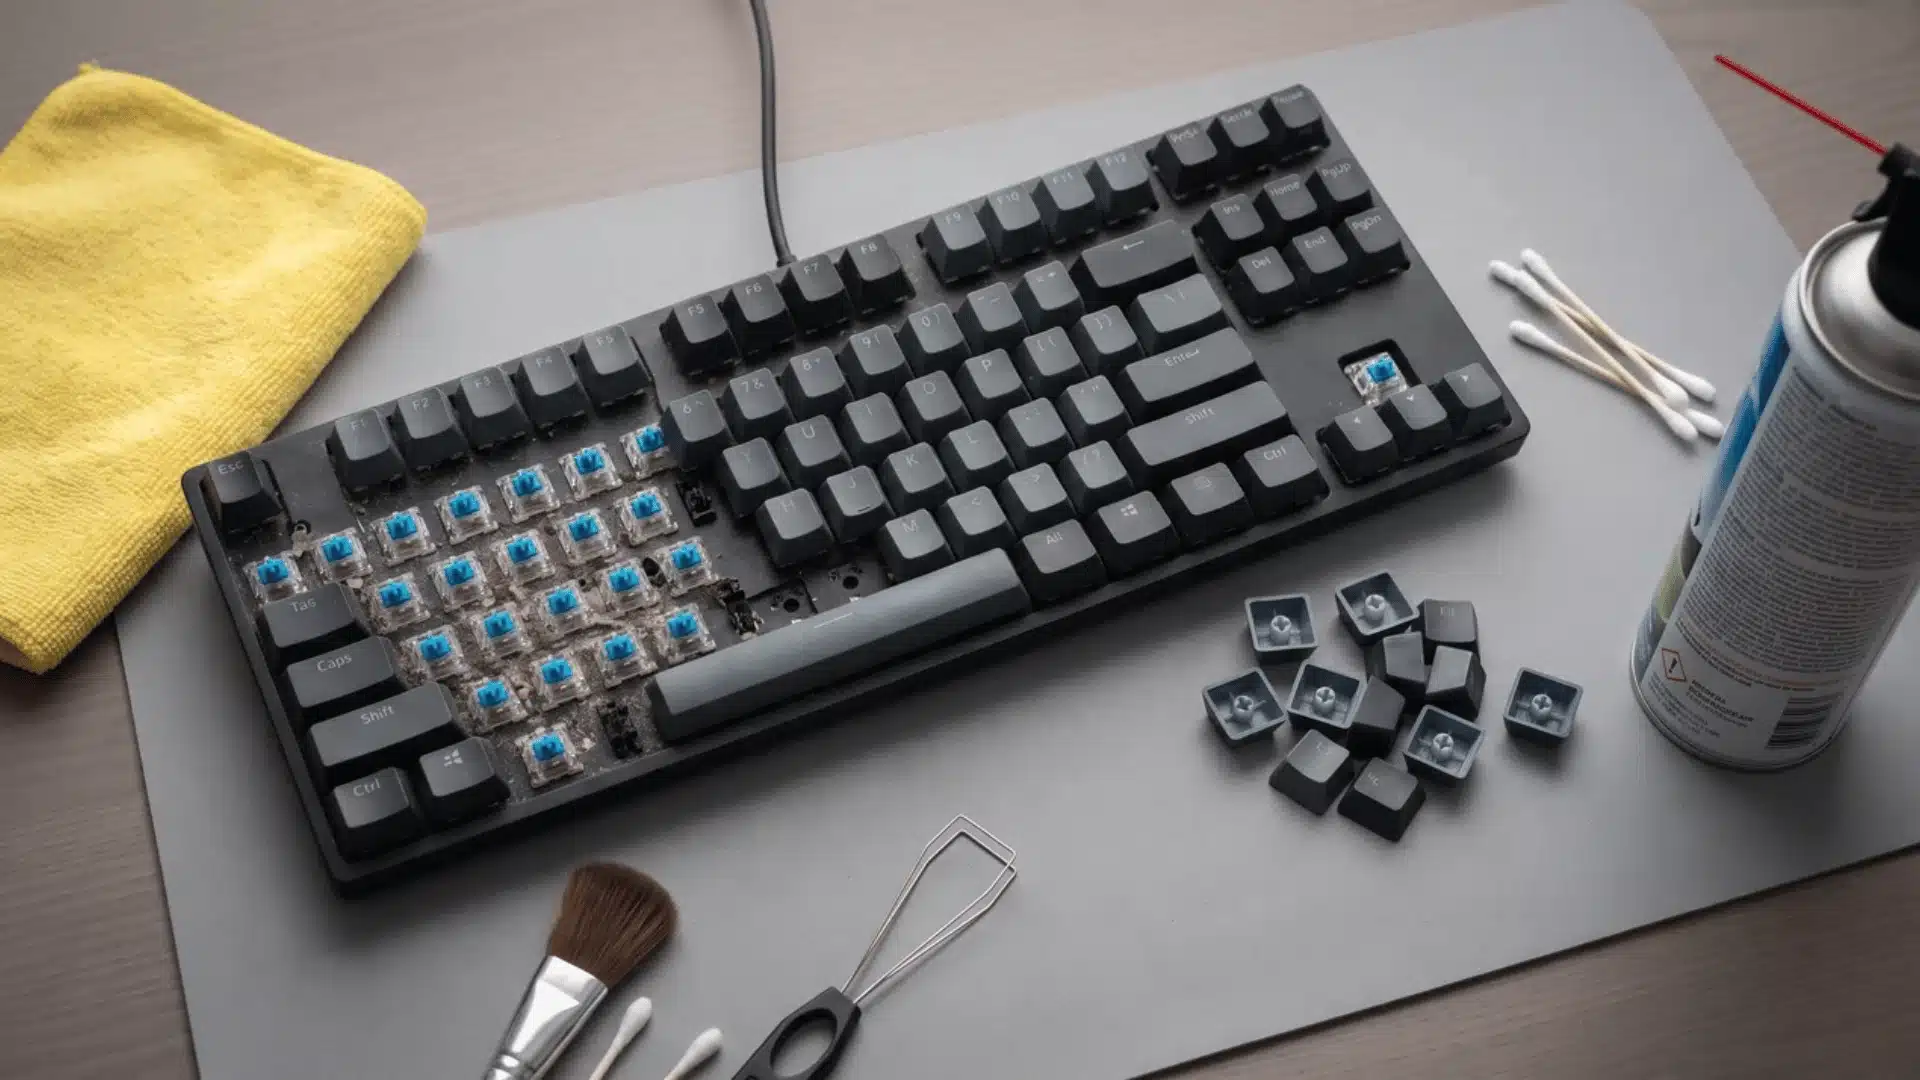
| Supply | Use For |
|---|---|
| Microfiber cloth | Wiping keycaps and the keyboard surface |
| Isopropyl alcohol | Cutting through oils and grime |
| Compressed air or air duster | Blowing dust out from between keys |
| Soft brush | Loosening debris near the switches |
| Keycap puller | Removing keycaps without damage |
| Bowl or container | Soaking removed keycaps |
| Warm water | Mixing with soap for soaking |
| Mild dish soap | Cleaning grime off keycaps |
| Cotton swabs | Reaching tight spots and edges |
| Tweezers | Picking out trapped hair or debris |
Skip paper towels, bleach-based cleaners, and too much liquid. Paper towels leave fibers behind, bleach can damage keycap lettering, and excess liquid can reach internal components.
How to Clean a Keyboard without Removing the Keys
For routine dust, fingerprints, skin oils, and light debris, the best way to clean a keyboard is to combine compressed air with a lightly dampened microfiber cloth.
A surface clean works well for everyday buildup and lets you maintain the keyboard without removing individual keycaps or disturbing the switches underneath.
1. Remove Loose Debris
Turn the keyboard upside down and gently shake it over a bin or clean surface to dislodge crumbs, dust, hair, and other loose particles.
Avoid hitting or shaking the keyboard aggressively, since strong impacts can damage internal components or loosen key parts that are otherwise functioning normally.
2. Blow Out Dust
Hold compressed air upright and use short bursts around the gaps between the keycaps, directing the airflow across the keyboard rather than straight downward.
Move systematically from one section to another, helping dislodge debris from between the keys without simply pushing it into another part of the keyboard.
3. Wipe the Keycaps
Lightly dampen a microfiber cloth with isopropyl alcohol and wipe each keycap to remove fingerprints, skin oils, and surface grime.
The cloth should be slightly damp, not wet, and you should avoid letting liquid enter the gaps around individual keys. Once you finish wiping, allow the keyboard surface to dry completely before reconnecting or using the keyboard normally again.
How to Deep Clean a Keyboard
A deeper clean makes sense when dust, crumbs, hair, or grime has accumulated beneath the keycaps. Mechanical and many external keyboards allow keycap removal, making these areas easier to reach.
Step 1: Prepare the Keyboard Before Cleaning
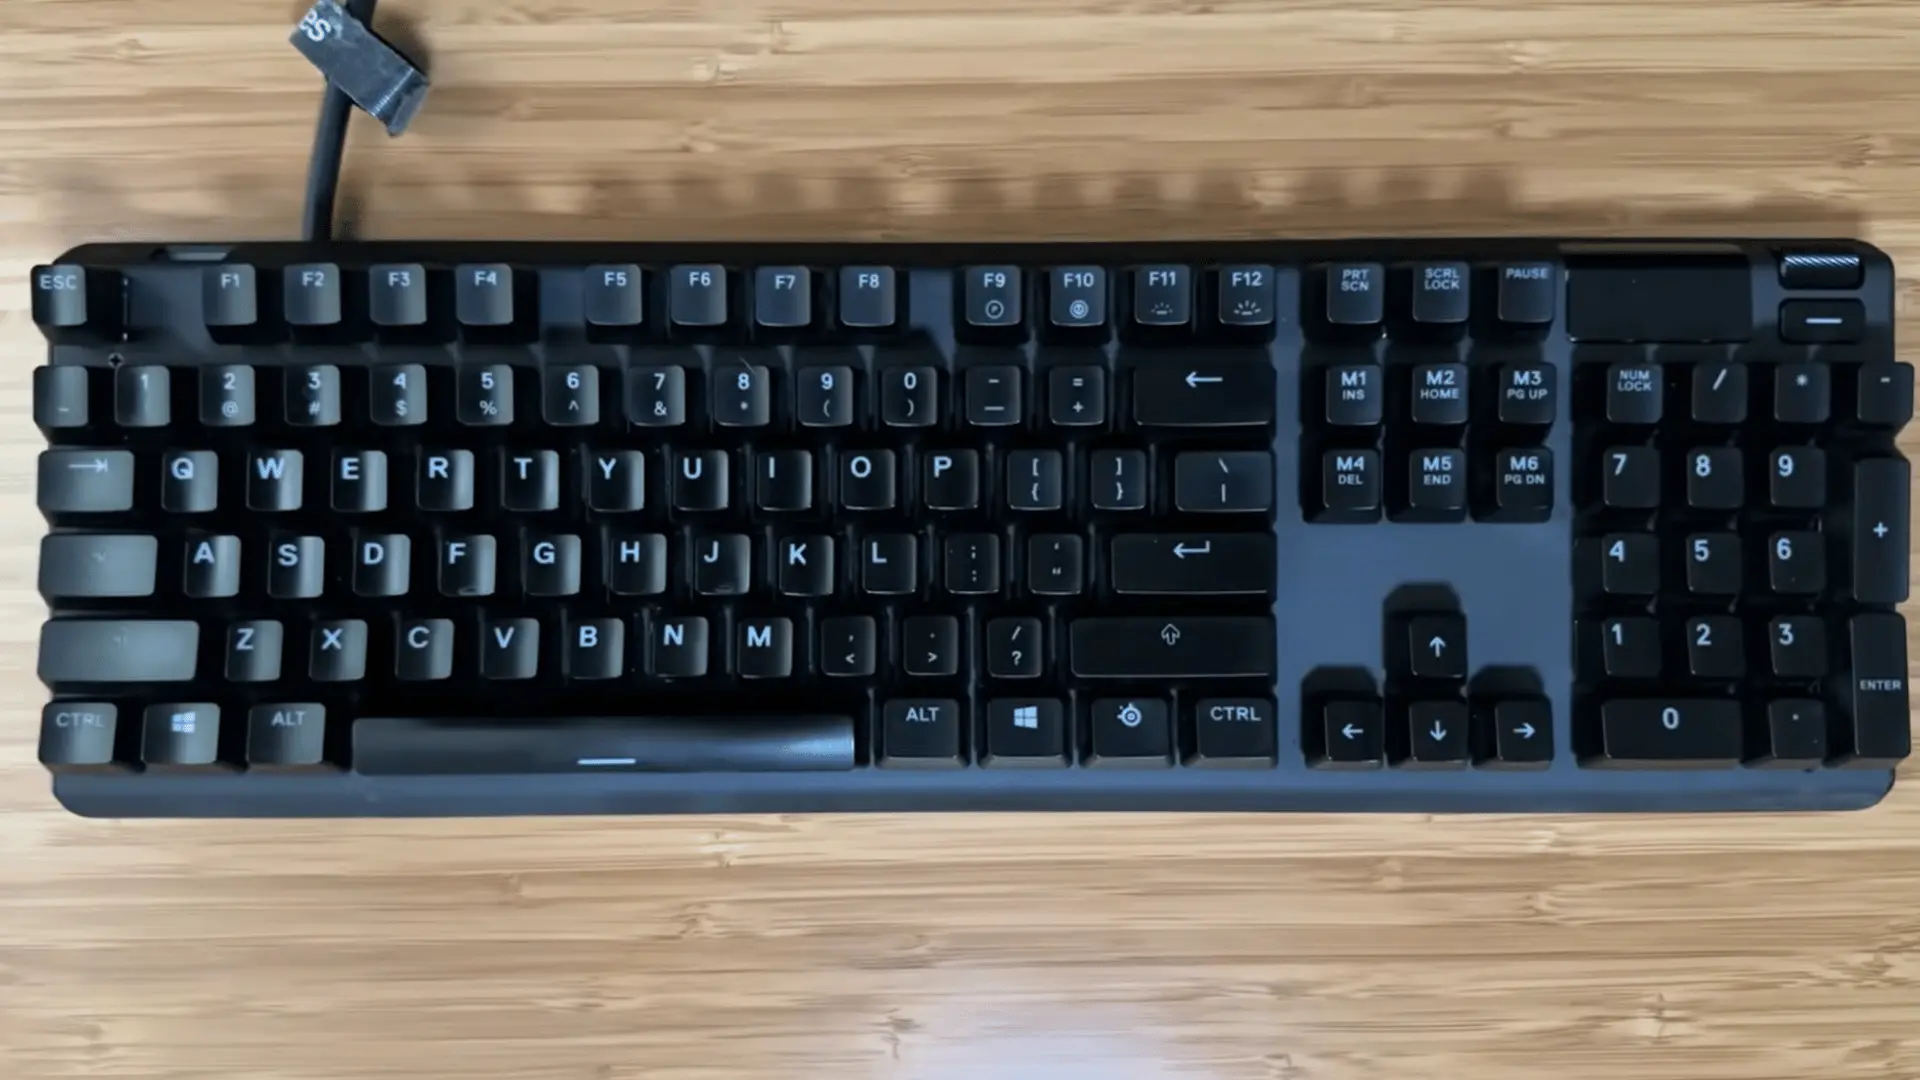
Start by disconnecting the keyboard from your computer. For a wired keyboard, unplug the cable. For a wireless keyboard, remove the batteries if they’re removable, or turn the keyboard off, to prevent accidental input or damage during cleaning.
Take a clear photo of the entire keyboard layout before removing any keys. This reference photo will help you place every keycap back in the correct position later, especially smaller keys and special layouts.
Step 2: Remove the Keycaps Carefully
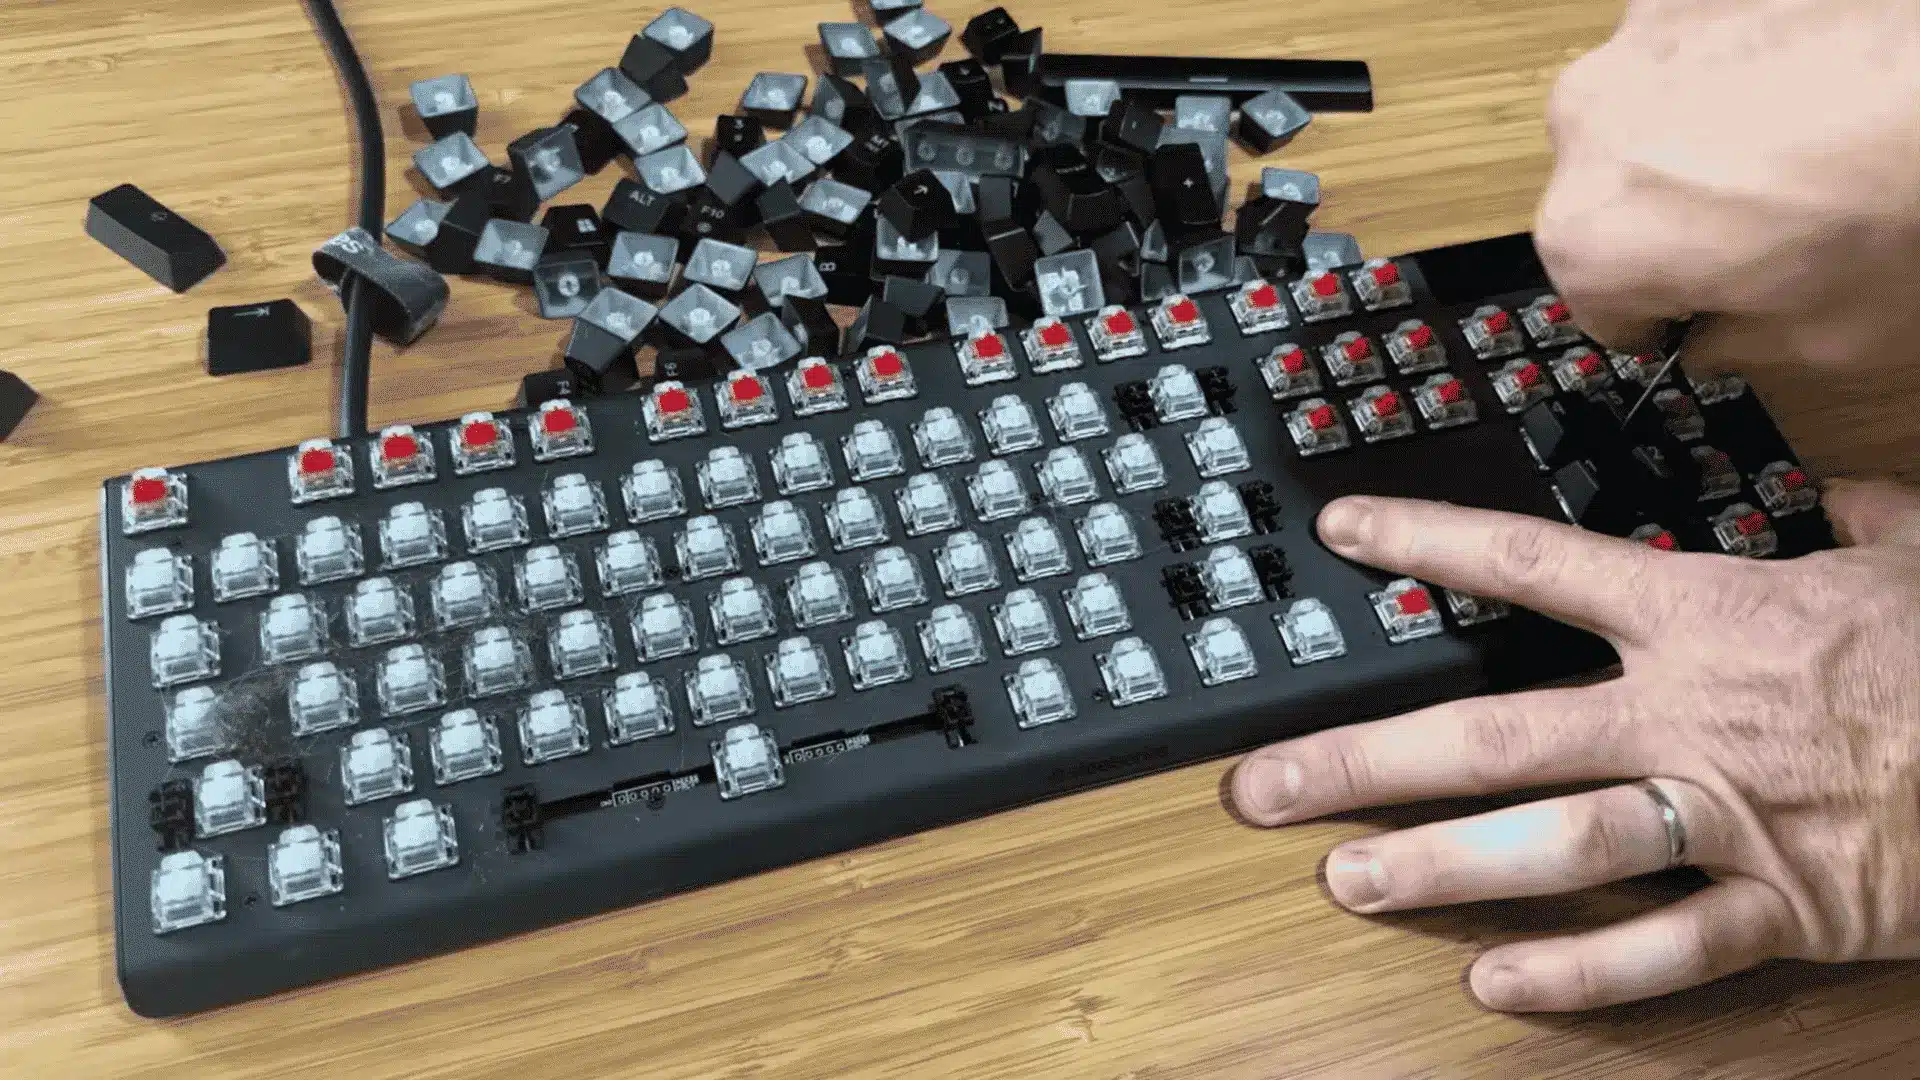
Use a keycap puller to remove each key by pulling straight upward. Avoid twisting or forcing the keys, as this can damage the key stems or switches underneath.
If a key feels stuck, adjust the puller and try again with a better grip. Pay extra attention to larger keys like Enter, Shift, Tab, and Caps Lock.
These keys often use stabilizer wires, which can be harder to repair if damaged. Remove visible dust or debris from the keycaps before washing them.
Step 3: Wash and Dry the Keycaps
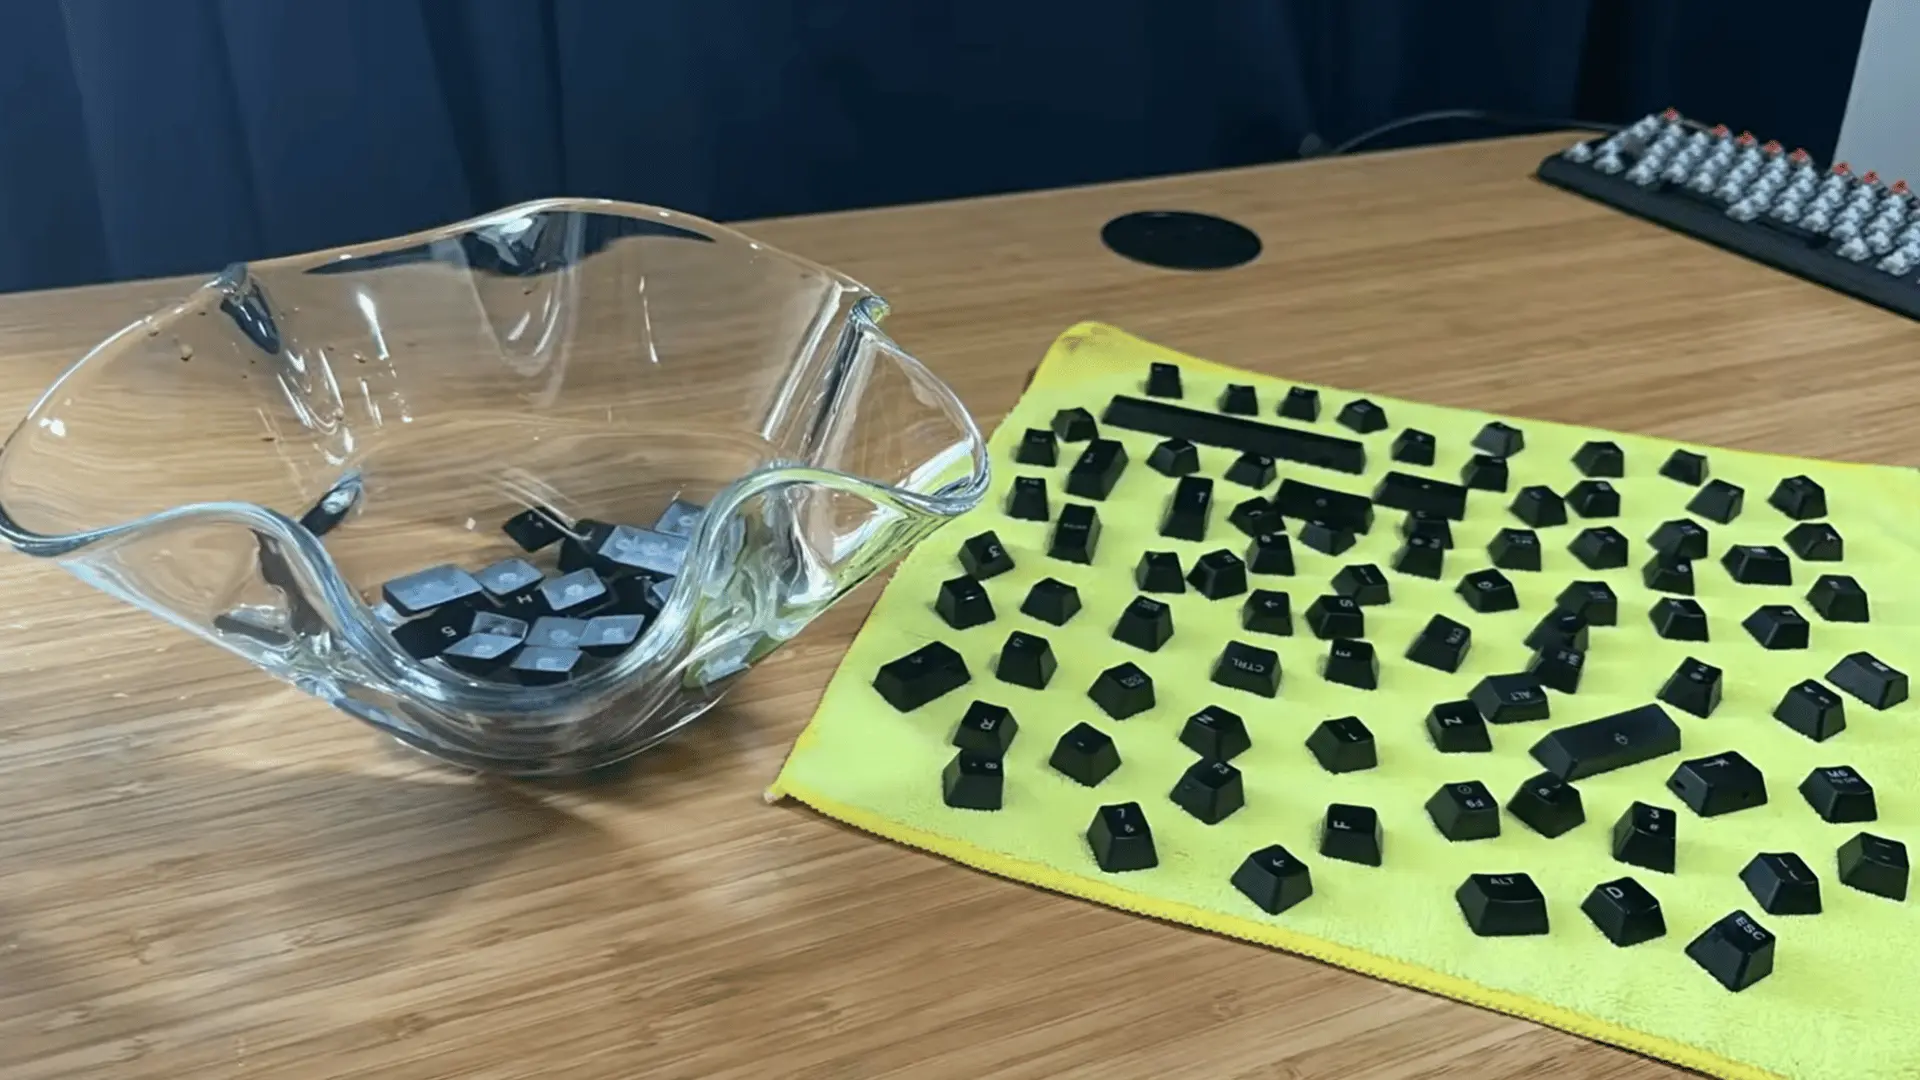
Place the removed keycaps into a bowl filled with warm water and a small amount of dish soap. Gently scrub them by hand to loosen dirt, oil, and buildup, then let them soak for about 30 minutes.
Rinse the keycaps thoroughly with clean water to remove all soap residue. Place them on a microfiber towel, dry them gently, and leave them spread out until completely dry.
Turn them over halfway through to improve airflow and speed up drying.
Step 4: Clean the Keyboard Base and Switch Area
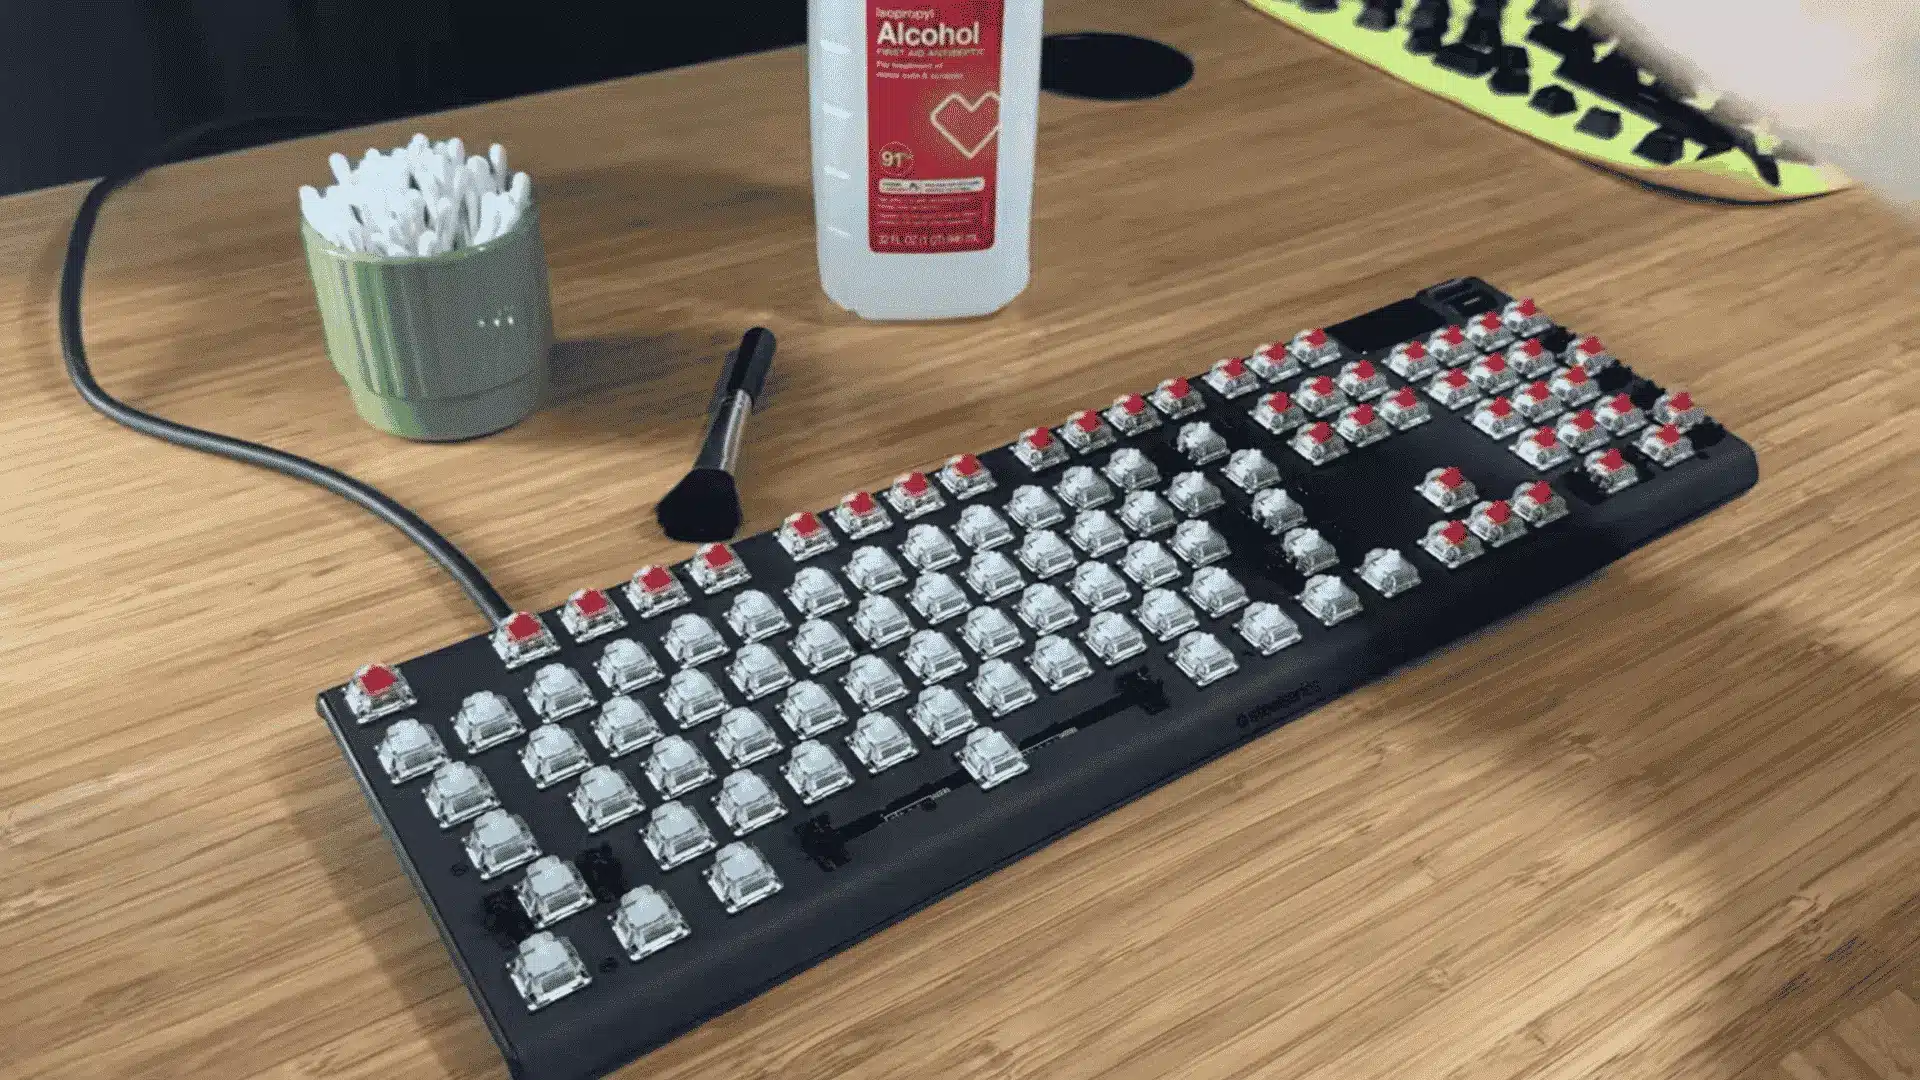
Turn the empty keyboard upside down and gently tap it to remove loose dust, crumbs, and debris.
Do this over a surface that can get dirty, as a surprising amount of buildup can collect underneath the keys. Use a soft brush or air duster to clean around the switches and inside the keyboard frame.
For sticky areas or old spills, lightly dampen a cotton swab with rubbing alcohol and scrub the affected spots. Avoid using too much liquid, as moisture can damage internal components.
Step 5: Remove Sticky Keys and Deep Clean Problem Areas
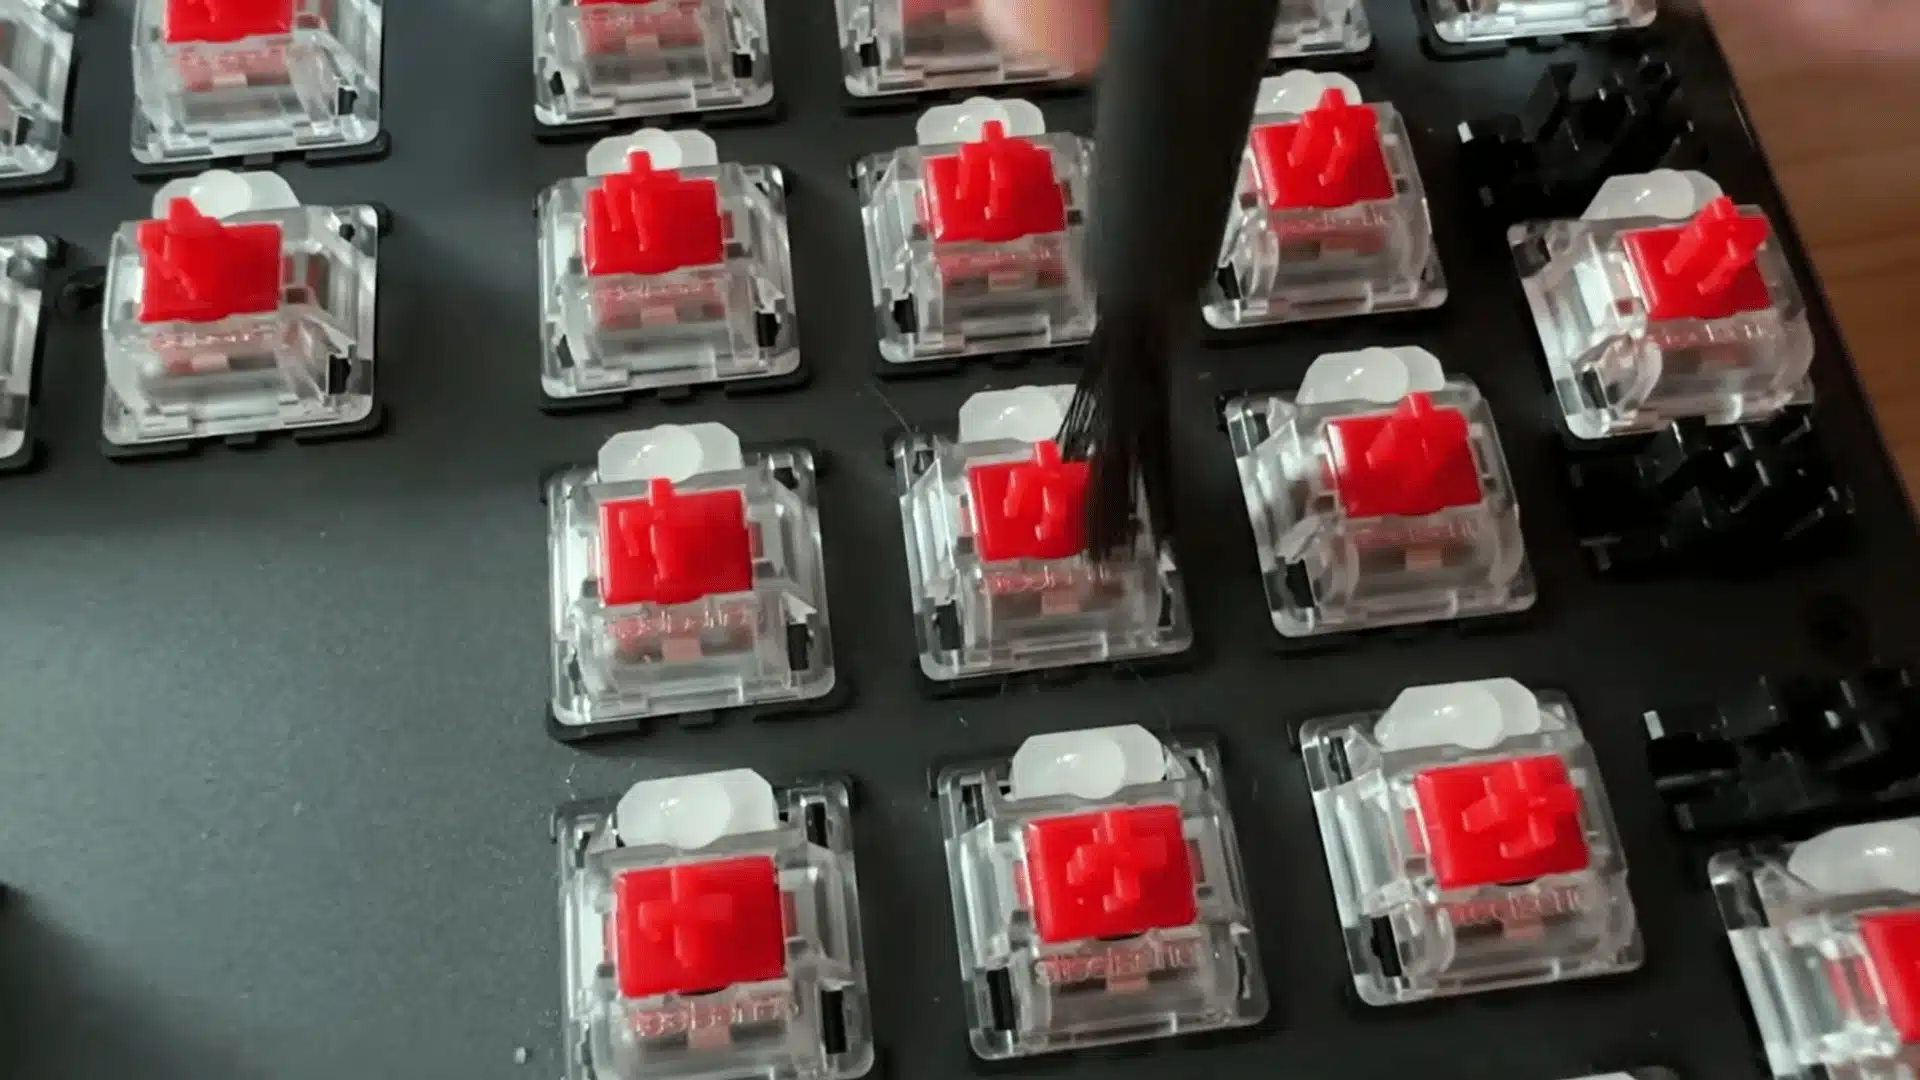
If certain keys feel sticky, carefully brush around the switch area to remove trapped dirt.
Tweezers can help pull out stubborn hair or debris caught between switches and other small parts. If keys remain sticky after surface cleaning, you may need deeper disassembly.
Removing the keyboard plate takes more effort, so do this only if basic cleaning doesn’t solve the problem.
Step 6: Wipe Down and Reassemble the Keyboard
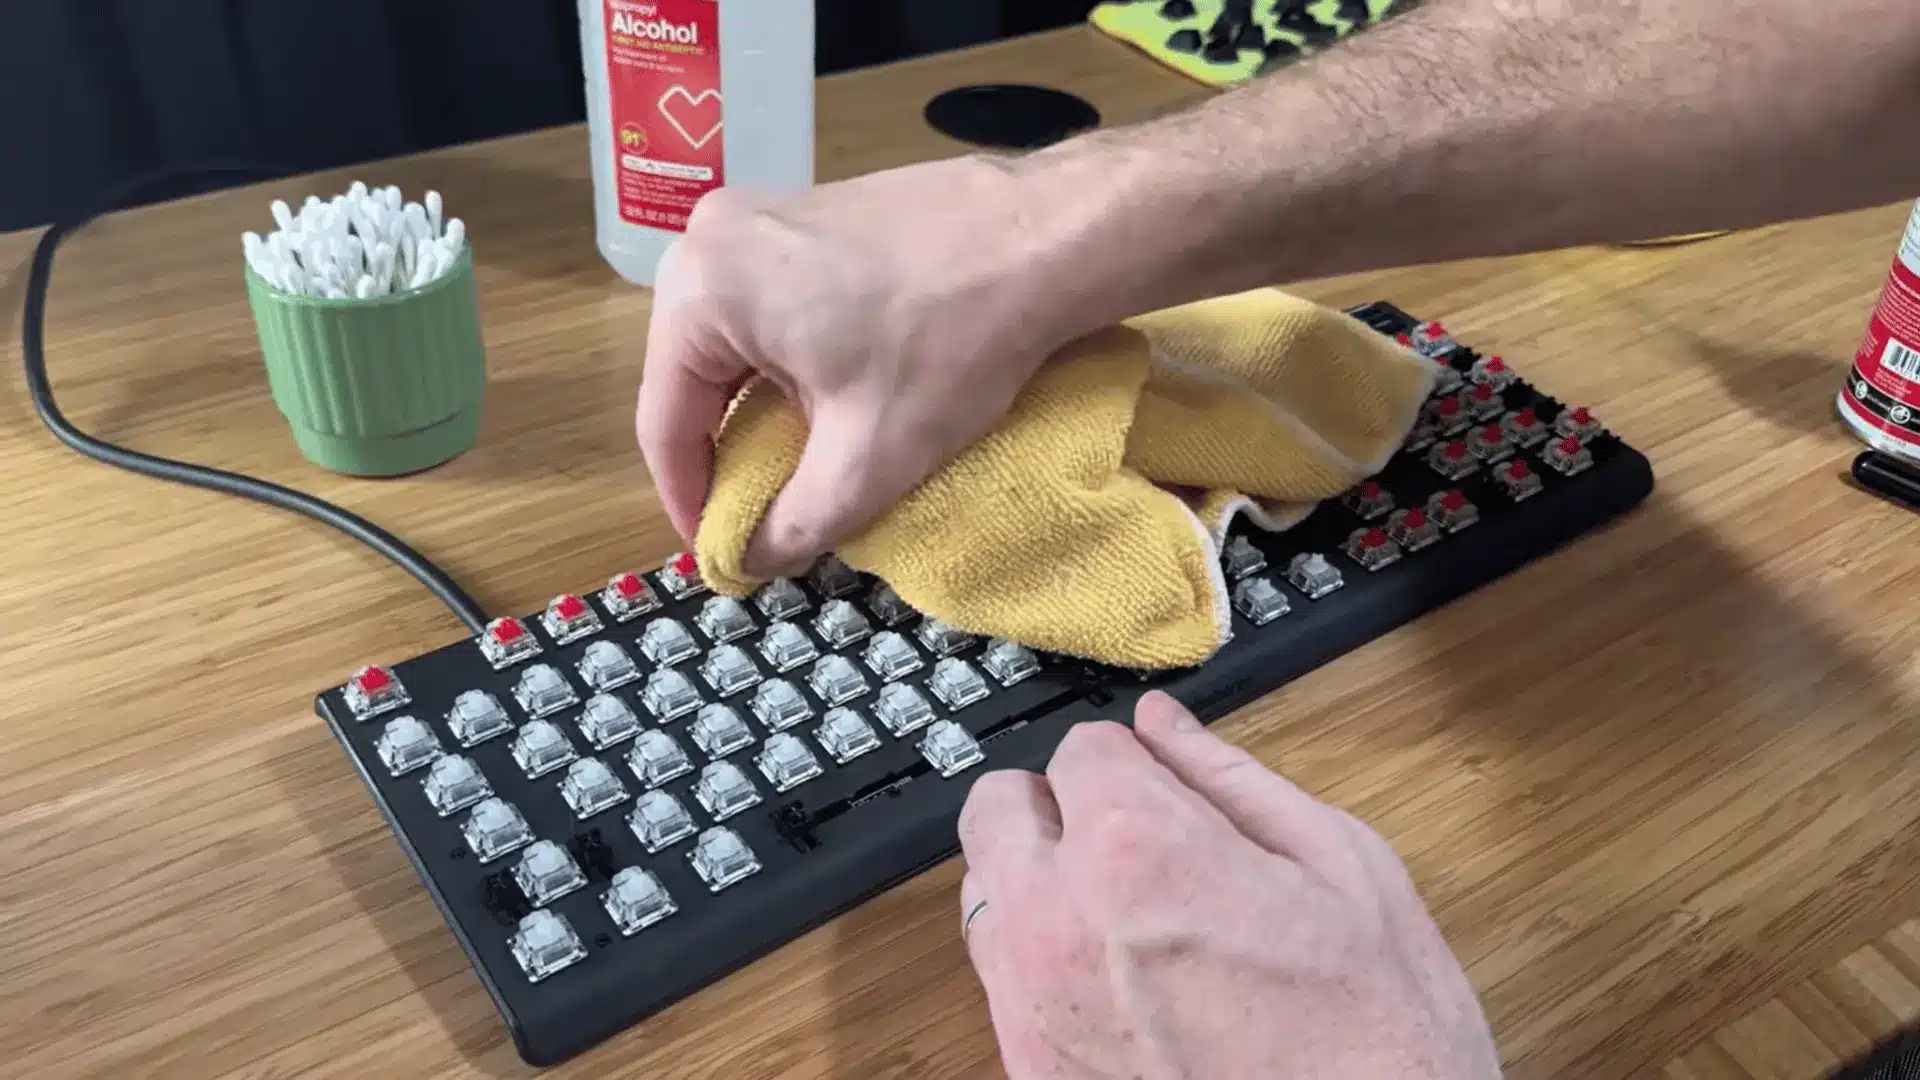
Use a microfiber towel and air duster to remove leftover dust, alcohol residue, or loose fibers.
Clean the keyboard frame, sides, and cable with a lightly damp microfiber cloth to remove fingerprints and grime. Before reinstalling the keycaps, make sure every piece is completely dry.
Use your reference photo to place each key correctly, then press each key straight down until it fits securely. Once finished, reconnect the keyboard and test that all keys work properly.
For further information, watch the video below:
How to Clean a Laptop Keyboard
Laptop keyboards need a lighter touch because many use scissor-switch mechanisms that are more delicate than external mechanical keyboards.
I wouldn’t remove laptop keycaps unless the manufacturer specifically recommends it. The clips underneath can break easily and may require professional repair.
For routine cleaning:
- Hold the laptop at an angle and use short bursts of compressed air.
- Wipe the keys with a microfiber cloth lightly dampened with isopropyl alcohol.
- Never spray cleaning liquid directly onto the keyboard.
MacBook models can have model-specific cleaning recommendations, so check Apple’s support instructions for your exact model before cleaning.
If an app stops responding while you test the keys afterward, you may need to force quit the frozen application.
Common Mistakes to Avoid While Cleaning a Keyboard
A few small mistakes can turn a simple cleaning into a bigger problem. Here are the ones to watch out for.
- Using Too Much Liquid: Extra moisture can seep beneath the keys and damage the switches or circuits underneath. Apply cleaner to a cloth first, never straight onto the keyboard.
- Using Harsh Cleaners: Bleach, strong solvents, and abrasive products can damage key lettering, coatings, and plastic. Stick with cleaners made for electronics.
- Skipping the Layout Photo: It’s easy to forget where certain keys go once they’re off. Snap a photo first, especially on compact keyboards.
- Using Compressed Air the Wrong Way: Tilting the can can release cold liquid instead of air. Keep it upright and use short bursts.
- Forcing Stuck Keycaps: Pulling too hard can damage the stems or switches underneath. If a key won’t budge, adjust your grip instead of yanking it.
Always disconnect the keyboard before you start, and let every part dry fully before putting it back together. Avoid sharp tools like knives or pins for stuck debris, since they can scratch surfaces and damage switches.
How Often Should You Clean Your Keyboard
For most users, a quick surface clean every two to four weeks is enough to handle everyday dust, crumbs, fingerprints, and oils.
A deeper clean with keycap removal is usually only needed a few times a year, though heavily used keyboards may call for it more often. Your environment plays a role too.
Dusty rooms, shared workspaces, eating near the keyboard, and frequent gaming all speed up buildup. Clean sooner if keys start feeling sticky, or you notice grime around the switches.
Catching it early is far easier than waiting until the keyboard needs a full teardown to fix the problem.
The Ending Note
A clean keyboard feels better to use and can make your desk feel more cared for. With regular dust removal, careful wiping, and proper drying, most everyday buildup is easy to manage.
I find that a few minutes of routine care can save time later when crumbs, hair, and grime start collecting under the keys.
Now that you know how to clean a keyboard, you can choose a quick clean or a deeper method based on how much buildup you have. Have you tried any keyboard cleaning tricks that work well for you?
Share your best tip in the comments below; I’d love to hear what you use.
Frequently Asked Questions
What Should I Do If I Spill Liquid On My Keyboard?
Immediately unplug the keyboard and flip it upside down to drain the liquid. Let it air dry at room temperature for at least 24 to 48 hours before testing it, and keep it away from direct heat or sunlight.
Can I Use a Vacuum Cleaner to Clean My Keyboard?
Using a standard household vacuum is not recommended as it can generate static electricity that may damage internal components. If you must, use an ESD-safe vacuum designed for electronics.
Is It Safe to Use Cleaning Gels or Slime on My Keyboard?
Yes, cleaning gels can be effective for picking up dust in hard-to-reach areas. However, avoid cheap brands, as they may leave a greasy or colored residue behind.
Can I Wash Keycaps in a Dishwasher?
No, washing keycaps in a dishwasher isn’t recommended. The heat and harsh detergent can warp the plastic and strip the printed letters. Stick with a bowl of warm water and mild dish soap instead.