
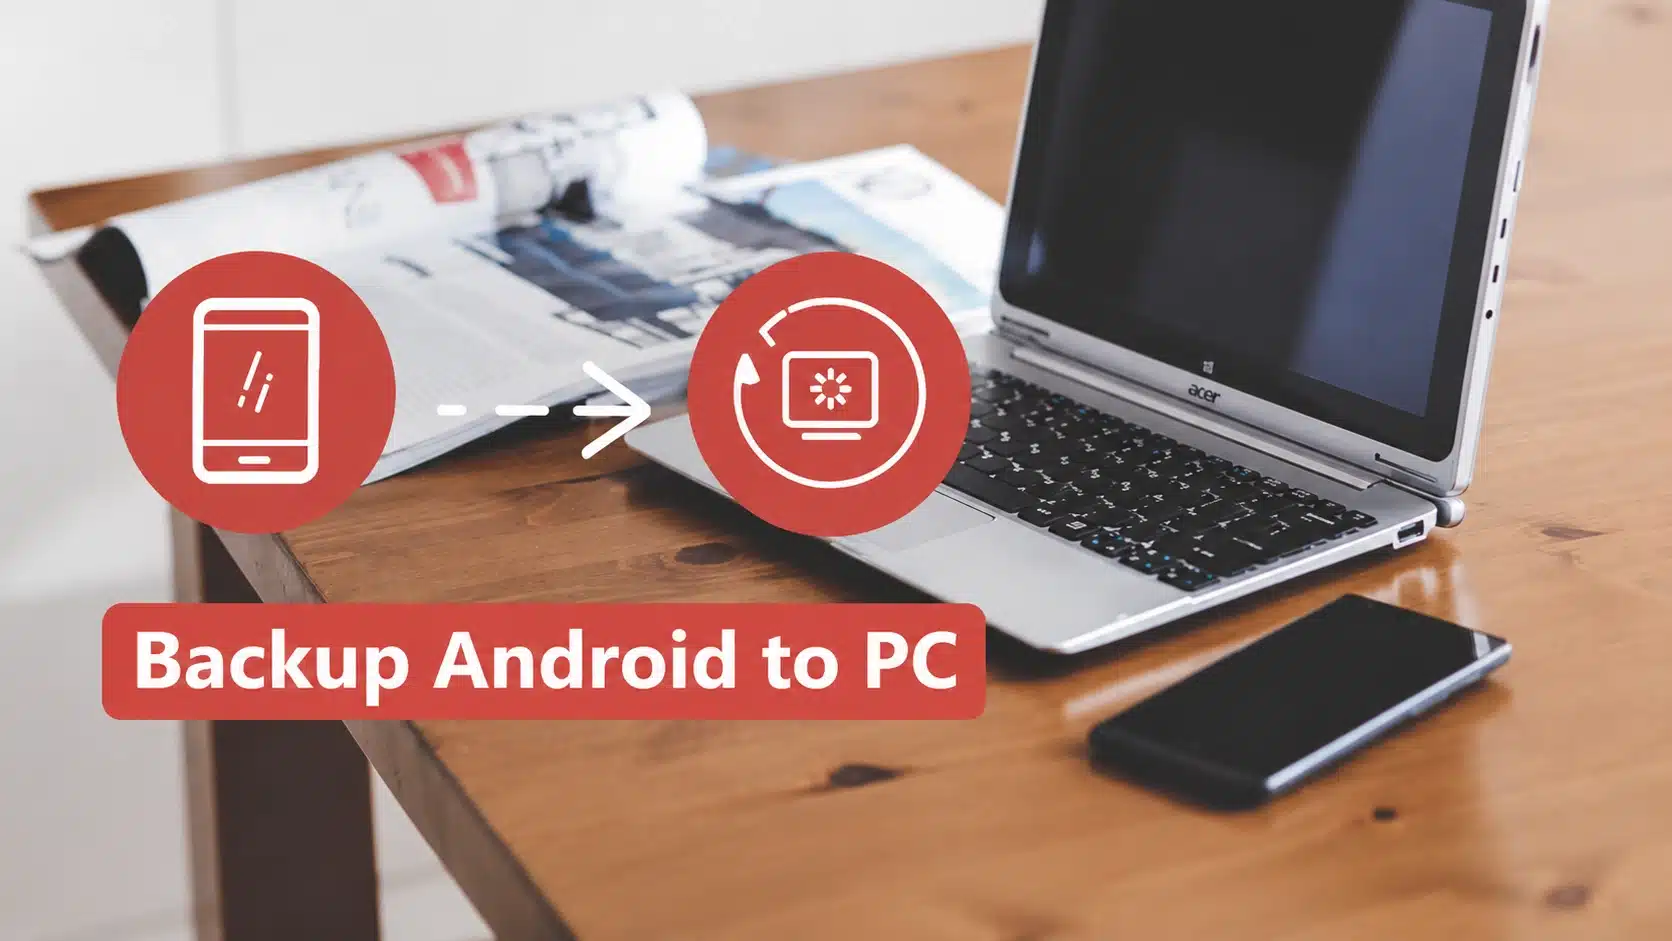
Most people never think about backing up their phone until it’s too late. A cracked screen, a stolen bag, or one bad software update can wipe out years of photos, conversations, and important files in seconds.
The good news? Backing up an Android phone takes less than ten minutes to set up and runs itself after that. No technical skills needed.
Today, I’m covering six backup methods, from a quick USB copy to automatic cloud sync, so your data stays safe no matter what happens.
Whether it’s contacts, messages, or camera photos, you’ll find an option here that fits how you use your phone.
What Data Should You Back Up? A Quick Pre-Flight Checklist
Before you start any backup method, it helps to know exactly what you are protecting. Here is a quick look at the key data types that live on your Android phone:
| Data Type | Examples | Backed Up by Google? |
|---|---|---|
| Photos and Videos | Camera roll, screenshots, downloaded images | Yes (Google Photos) |
| Contacts and Call Logs | Saved numbers, recent call history | Yes |
| Messages (SMS/MMS) | Text threads, picture messages | Yes |
| App Data and Settings | Game saves, app preferences, login sessions | Yes (most apps) |
| Documents and Files | PDFs, downloads, personal files | No — manual copy needed |
| Wi-Fi Passwords | Saved home and work networks | Yes |
| WhatsApp / Signal Chats | Message history, media shared in chats | Partial — needs a separate setup |
| 2FA Codes and Passkeys | Google Authenticator codes, saved passkeys | Partial — needs extra steps |
| DRM / Banking App Data | Streaming downloads, some finance apps | No — cannot be exported |
How to Backup Android Phone
No single method covers everything. These six options work together to protect every type of data on your phone, pick the ones that fit your situation.
Method 1: Back Up Android to Windows PC via USB Cable
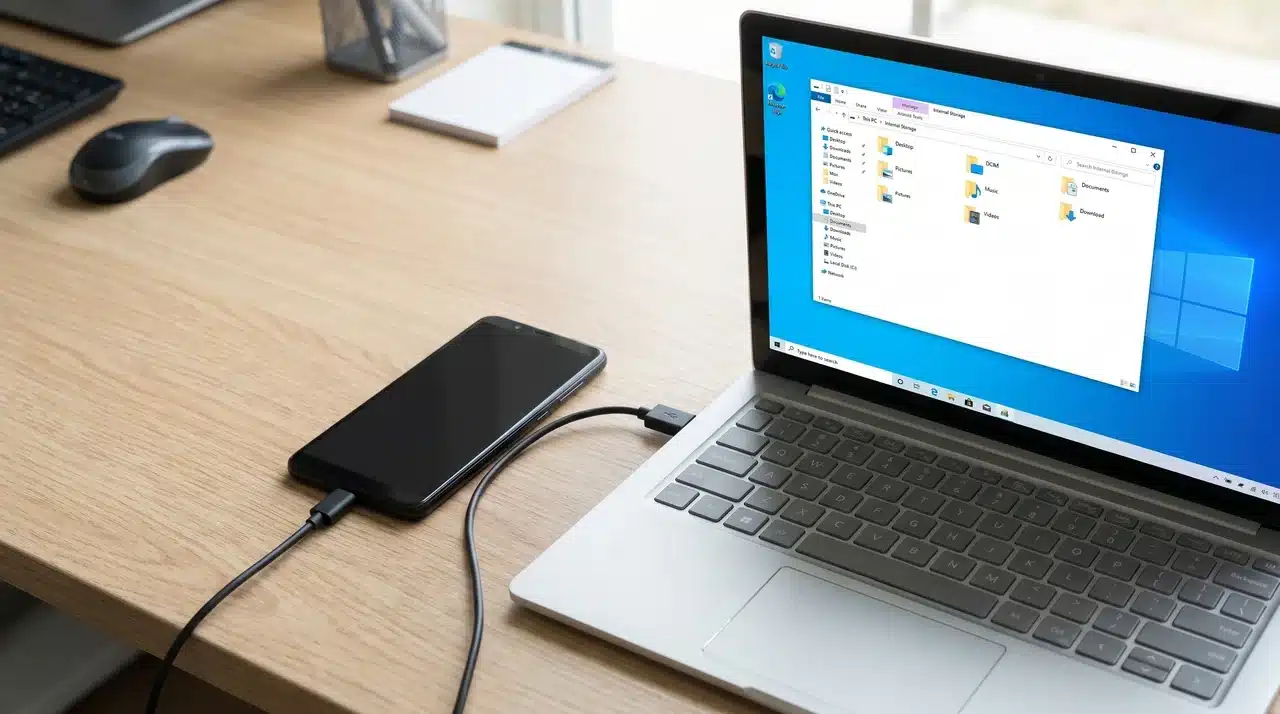
This is the fastest way to get a personal copy of your files onto your computer. No internet needed, no storage limits, no accounts to sign into.
Steps to back up:
- Plug your phone into your PC using the USB cable.
- On your phone, drag down the notification shade and tap the notification that says “Charging this device via USB.”
- Select File Transfer (MTP) from the options that appear.
- On your PC, open File Explorer. Your phone will appear in the left panel under “This PC.” Click on it.
- Navigate to the folders you want. Photos and videos live inside DCIM > Camera. Documents and downloads are in their own labeled folders.
- Select the files or folders you want, then copy and paste them into a folder on your PC.
Worth knowing: Free and fast, with no internet connection needed. You keep a personal local copy of your data that only you can access.
Method 2: Back Up Android to Mac via USB
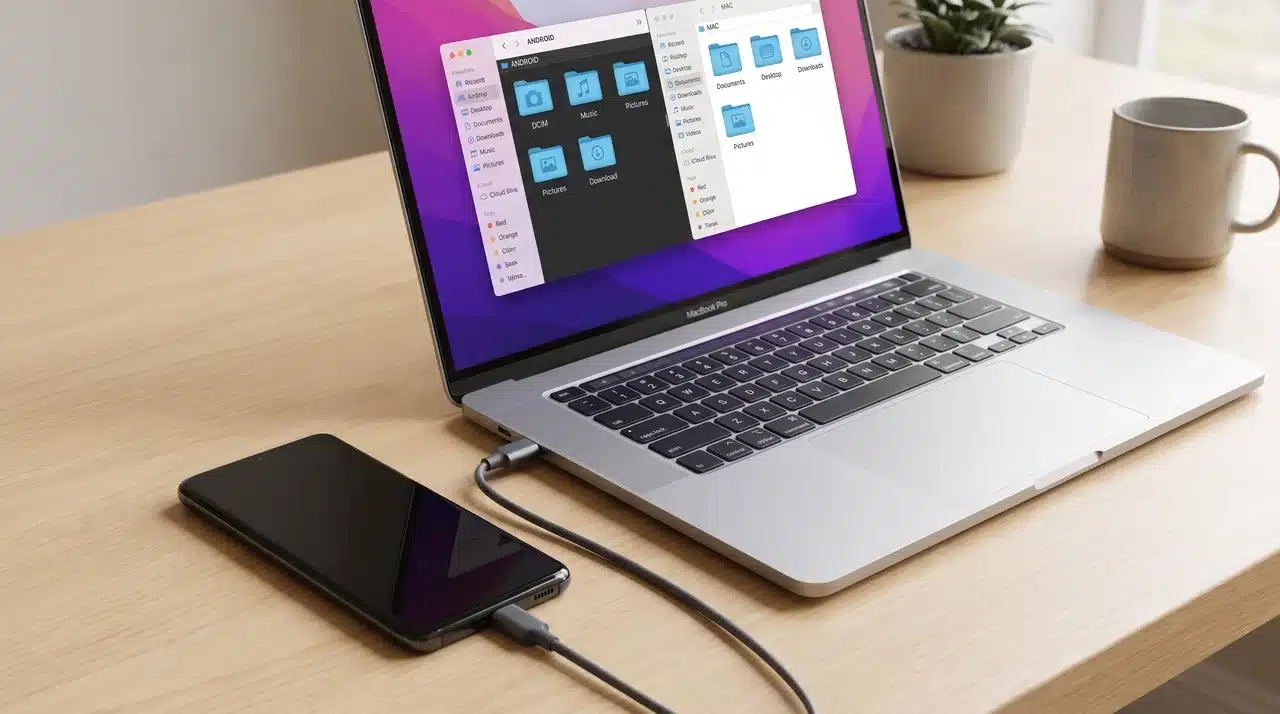
If you are on a Mac, the process works the same way, with one important difference. The old Android File Transfer app has been discontinued. You will need a free replacement called OpenMTP before you start.
Steps to back up:
- Download and install OpenMTP on your Mac from the official website.
- Plug your phone into your Mac using the USB cable.
- On your phone, drag down the notification shade and tap the USB notification.
- Select File Transfer (MTP) from the options.
- OpenMTP launches automatically and shows your phone’s file system in a split view; your Mac on one side, your phone on the other.
- Navigate to the folders you want, such as DCIM > Camera for photos and videos, then drag and drop them across to your Mac.
Keep in mind: Completely free with no cloud storage limits. OpenMTP is open-source and regularly updated. It does not back up app data or device settings.
Method 3: Back Up Android Using Google Backup
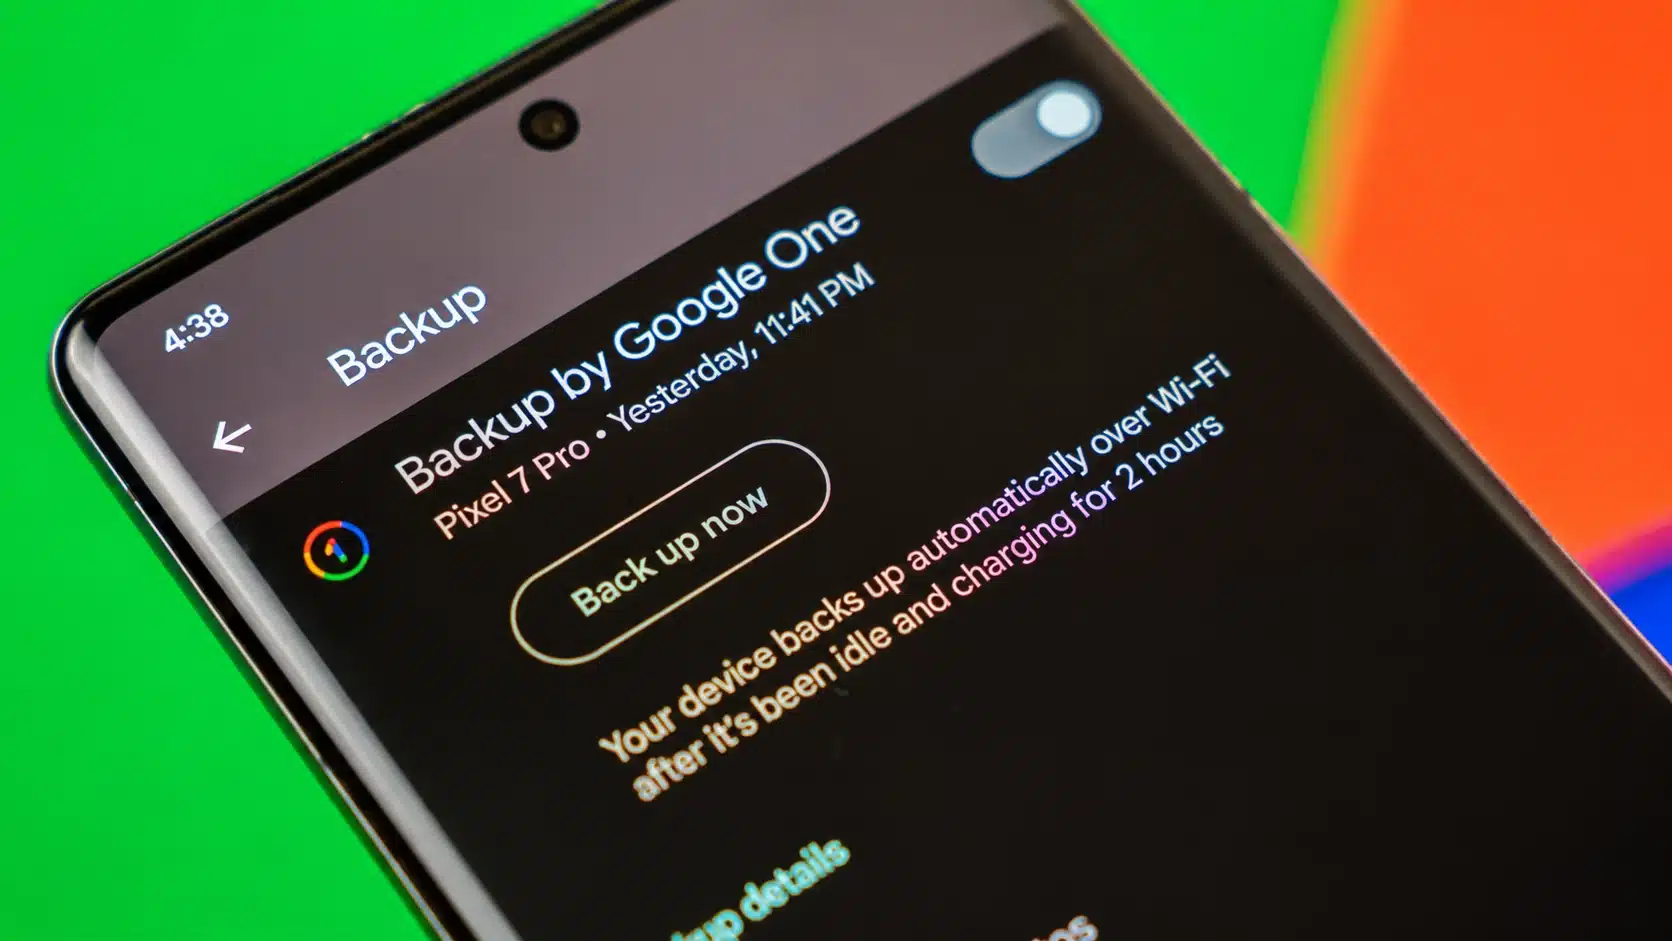
Google Backup is the easiest wireless option available on Android. It runs automatically in the background and covers most of the important data on your phone like contacts, messages, app data, and settings without any manual effort.
Steps to back up:
- Open the Settings app on your phone.
- On stock Android (Pixel and most non-Samsung devices), go to Settings > Google > Backup. On Samsung phones, go to Settings > Accounts and Backup > Back up data under the Google Drive heading.
- Toggle backup on and tick the data types you want to include.
- Tap Back up now to start an immediate backup.
- Leave your phone connected to Wi-Fi and plugged into a charger. Your first backup can take several hours to complete.
Google Backup only runs automatically when your phone has been idle for at least two hours, is connected to Wi-Fi, and is charging. If you want it to run on demand, tap Back up now rather than waiting for the automatic trigger.
Setting Up Google Photos Backup Separately
Google Photos manages your camera roll independently of the main Google Backup. Even if Google Backup is on, it is worth confirming Photos is syncing on its own.
Open the Google Photos app and tap your profile picture in the top right corner. Select Photos settings, then tap Backup. Toggle backup on and choose your upload quality.
Storage saver compresses photos slightly to use less storage. Original quality keeps them exactly as shot but counts against your 15 GB free limit. Once enabled, Photos backs up your camera roll automatically whenever you are on Wi-Fi.
Managing Your Storage:
- Google gives you 15 GB of free storage shared across Drive, Gmail, and Photos.
- If you need more, Google One plans start at 100 GB for $2 per month.
- You can view and manage all your backups inside the Google One app under the Backup section.
The upside: Automatic and wireless once set up. Covers contacts, messages, app data, and photos in one place.
Method 4: Back Up Android Using Samsung Smart Switch and Samsung Cloud
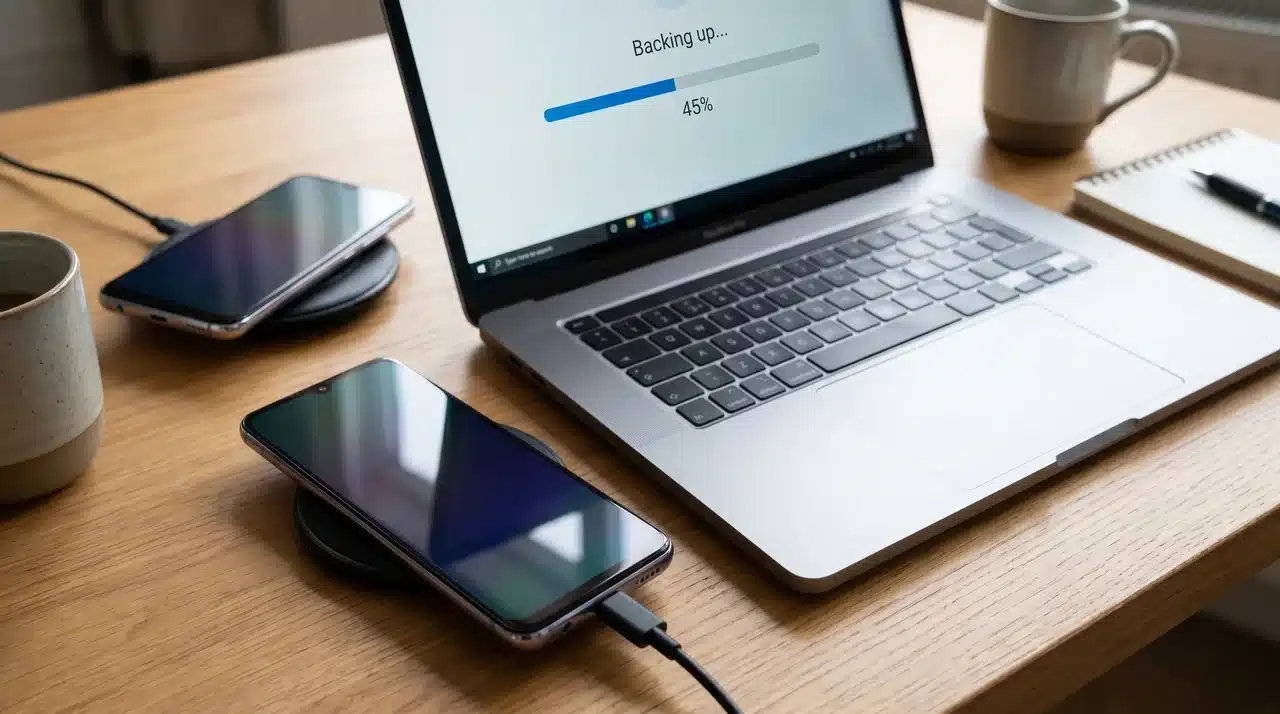
If you own a Samsung phone, you have access to two backup tools that go beyond what Google offers. Smart Switch creates a full local backup on your computer. Samsung Cloud handles wireless backups automatically.
Steps to back up using Smart Switch (PC):
- Download and install Samsung Smart Switch on your Windows PC or Mac from Samsung’s official website.
- Open Smart Switch on your PC and connect your phone via USB cable.
- Click Back up to start the process.
- Wait for the backup to complete. Smart Switch saves a full snapshot of your phone, including apps, settings, contacts, and media.
Steps to back up using Samsung Cloud:
- Open Settings on your Samsung phone and tap Accounts and Backup.
- Under Samsung Cloud, tap Back up data.
- Tick everything you want to include and tap Back up at the bottom.
Note: Smart Switch creates a comprehensive local backup including apps. Samsung Cloud provides a full snapshot backup useful when switching to a new Samsung device, though it works only within the Samsung ecosystem.
Method 5: Back Up Android to Alternative Cloud Services
If you have used up Google’s free 15 GB or prefer to keep your data outside Google’s ecosystem, several other cloud services work well with Android. Each offers automatic backup and works across devices.
Steps to back up:
- Download your preferred cloud storage app from the Google Play Store.
- Sign in or create a free account within the app.
- Open the app settings and look for an automatic photo and video sync or camera upload option. Enable it so new photos back up automatically.
- For documents and other files, navigate to the folder you want to back up, tap the upload button, and select the files manually.
- If you want automatic syncing for files beyond just photos, download the Autosync app. It has dedicated versions for Dropbox, OneDrive, MEGA, and Box, and automatically keeps selected folders synced across your devices.
Here is how the free storage compares across the main providers:
| Provider | Free Storage |
| Dropbox | 2 GB |
| OneDrive | 5 GB |
| MEGA | 20 GB |
| Box | 10 GB |
Good to know: A solid alternative if you have already used up your Google storage. MEGA offers the most free storage of any major provider.
Method 6: Back Up Android Locally Without the Cloud
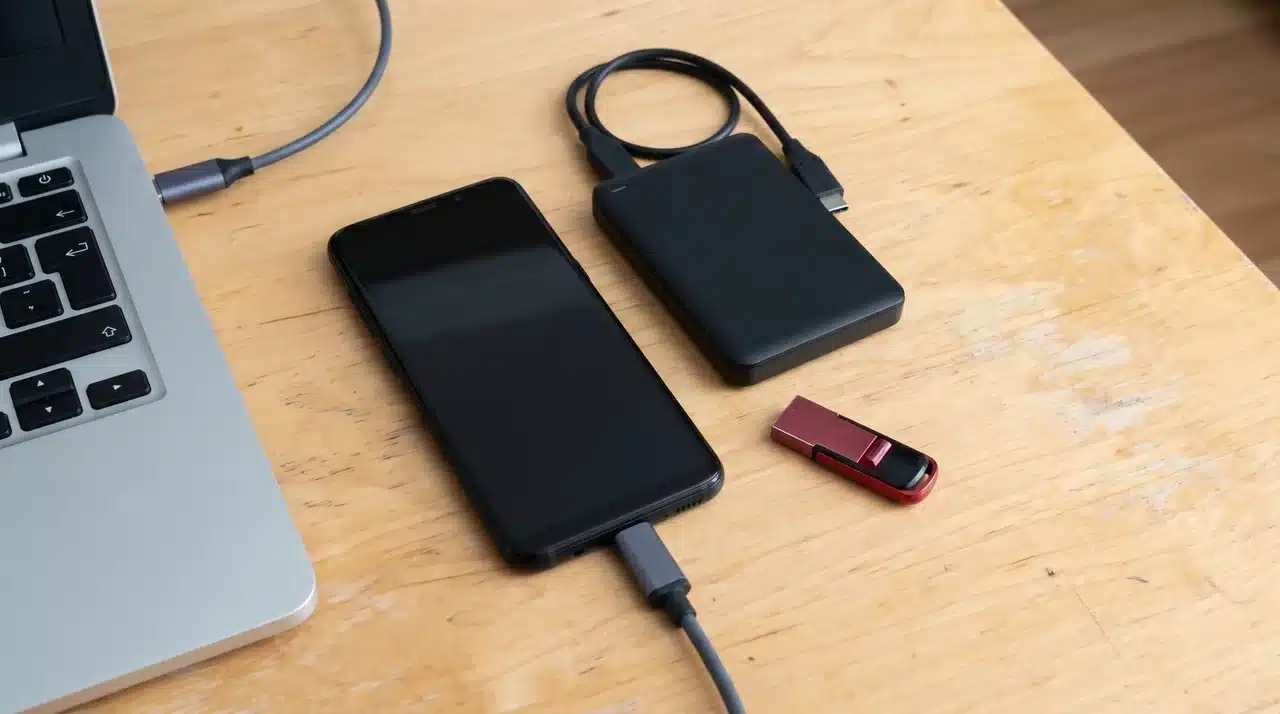
If you prefer to keep your data completely private and off any cloud server, local backup is the way to go. You decide where it lives and who can access it; no third party involved.
Steps to back up to an external drive:
- First, complete a USB backup to your PC using Method 1 (Windows) or Method 2 (Mac).
- Connect your external hard drive or USB flash drive to your PC.
- Open File Explorer and navigate to the folder where you saved your phone backup.
- Copy the entire backup folder and paste it onto your external drive.
- Safely eject the external drive and store it somewhere separate from your PC.
Steps to back up using a NAS device:
- Check if your NAS brand has an official Android app. Most major brands like Synology and QNAP do.
- Install the app on your phone and sign in using your NAS credentials.
- Enable automatic backup and select the folders you want to sync over your home Wi-Fi.
The tradeoff: Complete privacy with no third party holding your data. No monthly subscription or storage limits beyond your hardware. Requires manual effort — nothing syncs automatically unless you set up a NAS.
Don’t Overlook These: App-Level Backups, 2FA Codes, and Passkeys
The six methods above cover most of what lives on your phone. But three categories sit outside Google’s reach entirely and need their own setup. If you skip these, you will not know they are missing until you need them.
WhatsApp has its own built-in backup system that works independently of Google Backup. You need to configure it manually; it is not on by default.
- Open WhatsApp and go to Settings > Chats > Chat Backup.
- Choose your preferred backup frequency: daily, weekly, or monthly.
- Toggle on End-to-End Encrypted Backup and set a password or encryption key. Store it somewhere safe, cause there’s no way to recover it if lost.
Signal
Signal does not back up to the cloud, so you must create a local backup manually and move it to a safe location.
- Go to Settings > Backups > On-Device Backups > Turn On.
- Move the backup file to your PC using Method 1 or Method 2 from this guide.
2FA Codes
Losing your phone without backup codes can permanently lock you out of important accounts. This is one of the easiest things to overlook and one of the most painful to recover from.
- Generate Google account backup codes in advance via your Google account security settings.
- Open Google Authenticator and tap your profile picture. A cloud icon with a tick confirms encrypted cloud sync is active.
Passkeys
Passkeys back up automatically to your Google account. For extra security, also store them in a password manager like Bitwarden or on a physical security key like YubiKey.
How to Restore Your Android From a Backup
Backing up your phone is only useful if you know how to get your data back. Here is a quick overview of how restoration works for each method covered in this guide.
- USB or PC Backup: Connect your phone via USB, select File Transfer (MTP), and copy your saved files back into the correct folders using File Explorer.
- Google Backup: Sign in during device setup and select “Restore from backup” to automatically recover contacts, messages, app data, and settings.
- Samsung Smart Switch: Open the app on your PC, connect your phone via USB, click “Restore,” and follow the on-screen instructions.
- Post-Restore Expectations: Media and contacts restore cleanly. App logins, passwords, and authenticator codes require manual re-entry.
Backup Best Practices
Knowing how to back up is only half the job. Knowing how often to do it and how many copies to keep is what separates a solid backup strategy from a false sense of security.
The 3-2-1 Rule
The 3-2-1 rule is the standard for data protection, and it is simple to follow:
- 3 copies of your data at all times
- 2 stored on different devices or media
- 1 stored off-site, such as in cloud storage
In practice, a simple 3-2-1 setup for Android looks like this: your photos and contacts backed up to Google (copy one), a USB copy of your DCIM folder on your PC (copy two), and that PC folder synced to a cloud service like MEGA or OneDrive as the off-site copy (copy three). You do not need dedicated backup software to hit all three; what I just told you is really all you need.
Note: Daily backup is ideal if you take a lot of photos or send important messages regularly.
Conclusion
Your phone holds more of your life than you probably realize. The good news is that backing up takes less than ten minutes to set up and almost no effort to maintain once it is running.
Start with a quick USB backup to your PC today, enable Google Backup over Wi-Fi tonight, and set a weekly reminder in your calendar to keep things consistent.
Do it once, do it right, and you will never have to worry about losing your data again.
Frequently Asked Questions
Can I back up my Android phone to a PC without a USB cable?
Yes. Google Backup works wirelessly over Wi-Fi and automatically saves your contacts, messages, app data, and photos to your Google account without needing a cable.
Does backing up my Android phone save everything?
Not entirely. Most data backs up through Google, but files in your Downloads folder, Signal chats, and some banking app data require separate manual backup steps.
How long does an Android backup take?
A first-time backup can take several hours, depending on how much data you have. Regular backups after that are much faster, as only new or changed data is uploaded.