
Locked yourself out once, and you start eyeing that old deadbolt differently. A smart lock installation fixes that problem for good, and it’s a lot simpler than people expect.
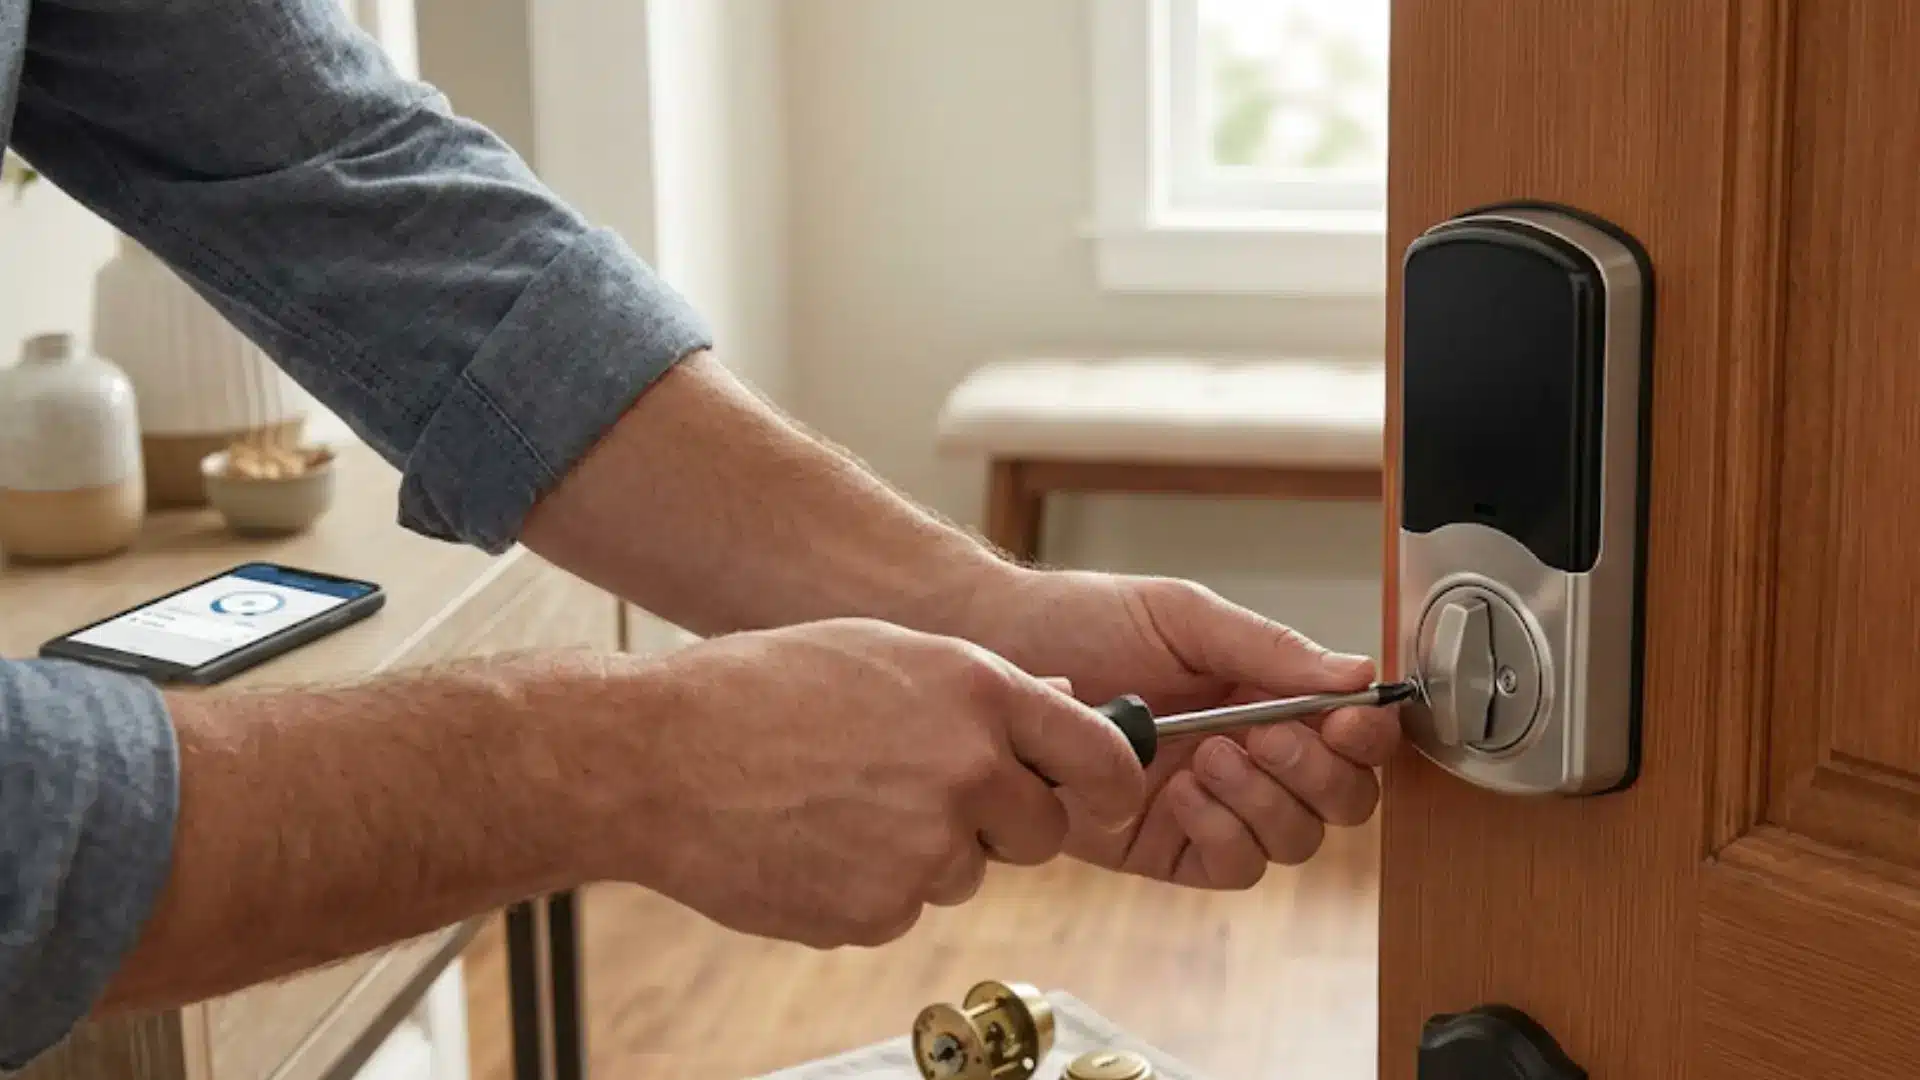
Most homeowners finish the entire swap in under an hour, using a single Phillips screwdriver they probably already own. No electrician, no drilling, no tearing up your door frame.
Below, I’ll show you what to prep, the full install broken into clear steps, where these installs commonly go wrong, and how to confirm everything works before you trust it with your front door.
By the end, you’ll know exactly what to do and what to check.
What Do You Need Before Smart Lock Installation?
A smart lock install is a same-day job. Most locks are built to fit the exact holes your current deadbolt already uses. That means one tool does the job: a Phillips screwdriver.
You’ll be pulling three things off your door:
- The deadbolt itself
- The interior thumb turn
- The strike plate on the frame, if it needs to be swapped for a reinforced one
Those three pieces are what most locks include as replacements. Before you touch a screw, be honest about your door. If it sticks, rubs the frame, or has a visible gap, that matters.
I’ve seen that resurface later during calibration every time. It doesn’t rule out DIY; just budget an extra step for the strike plate.
Most people should install this themselves; it’s about as hard as swapping a doorknob. The real reason to hire someone is integration, not difficulty. Cost follows that logic too.
How to Install a Smart Lock Step by Step
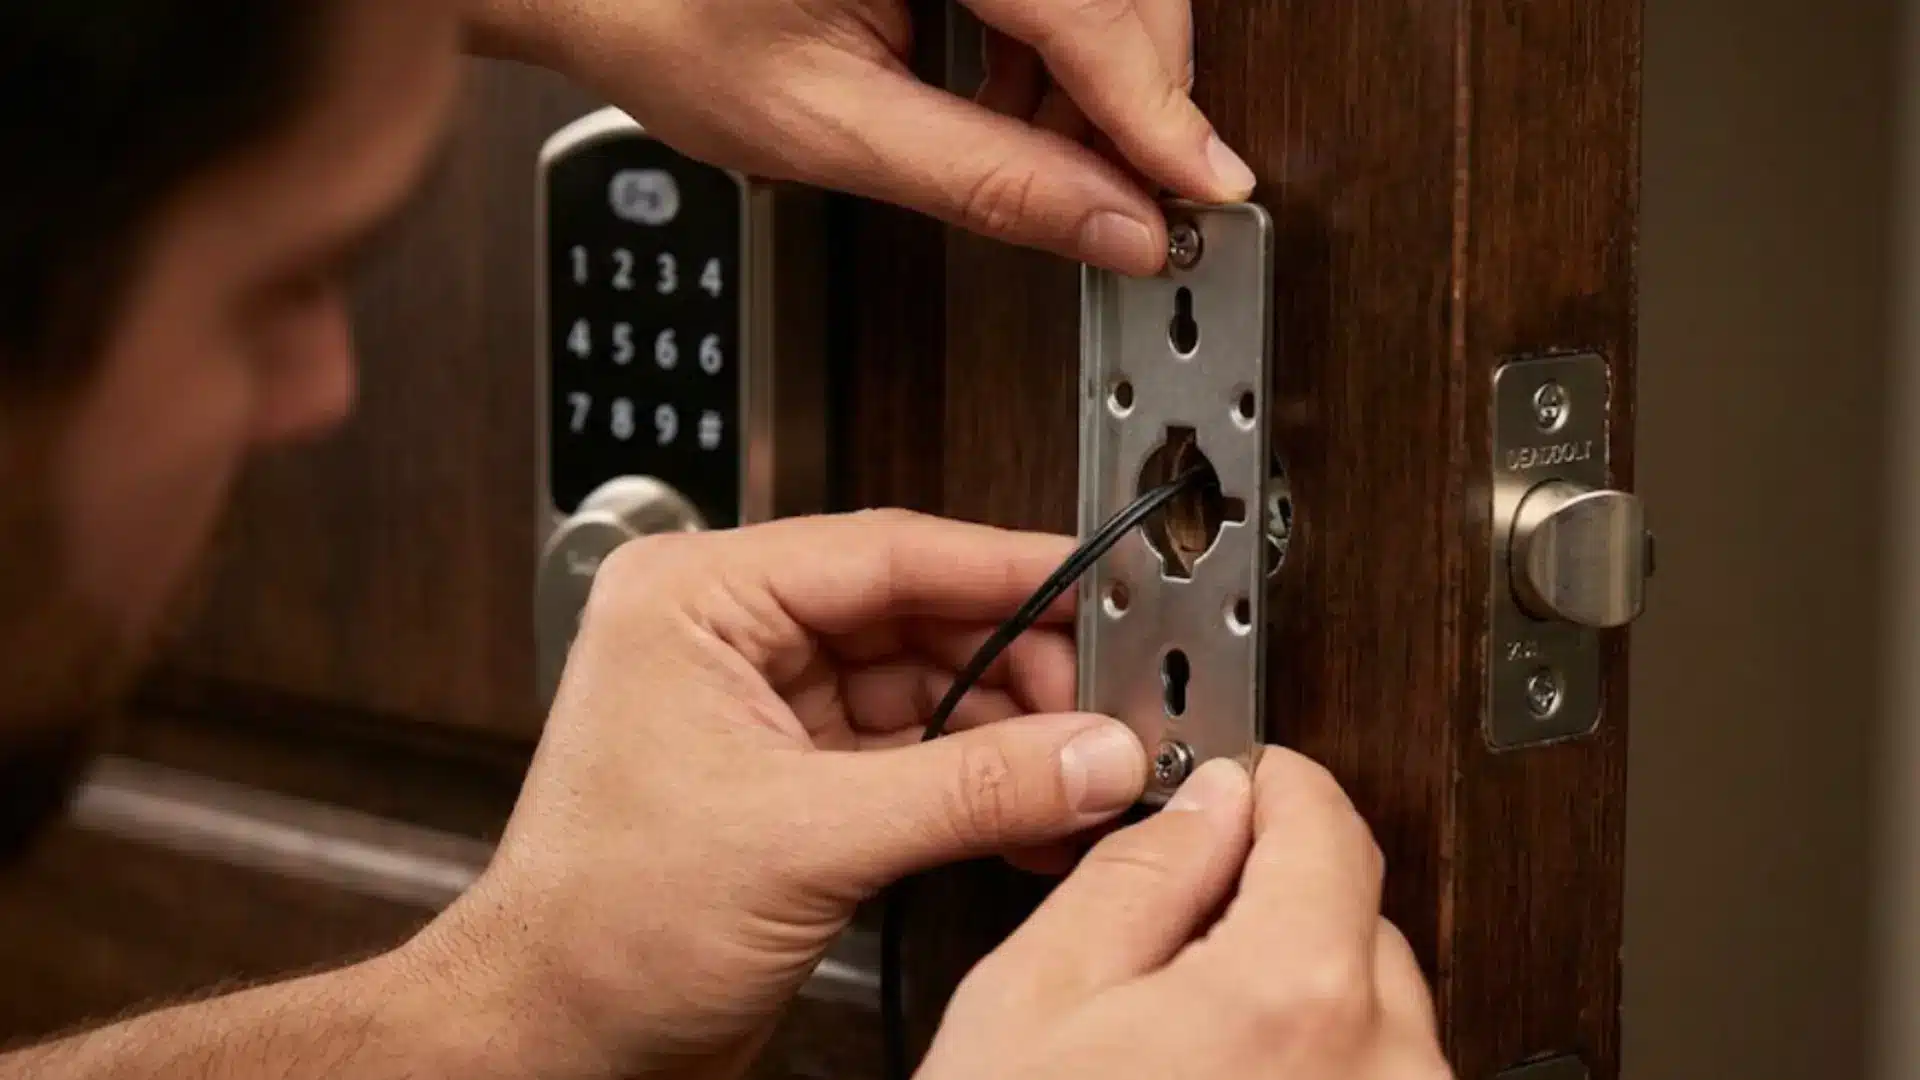
This is the full sequence, start to finish, in the order it actually needs to happen. Each step sets up the next one. Skip ahead on the wiring in particular, and you’ll pay for it later.
Step 1: Remove the Old Hardware
Start inside. Unscrew the thumb turn and pull it off the door. Then move outside and remove the faceplate covering the old cylinder. Last, unscrew the deadbolt latch from the edge of the door and pull it free.
Set every screw and old part aside in one spot, since some smart locks reuse the original screws for mounting. Don’t force a stuck screw; a little more turning pressure usually does it.
Step 2: Install the New Latch
Slide the new latch into the same slot the old one came out of. It has an “up” marker stamped somewhere on it, and that marker matters more than it looks.
The latch will physically fit in either direction, but it won’t retract once the lock is powered on. Line the marker up first, then drive in the screws until the latch sits flush with the door edge.
Step 3: Mount the Exterior Keypad
Outside, feed the electronic cable through the gap under the latch. Push the metal spindle through the center hole so it lines up with the latch. This cable will connect to the interior unit soon.
Don’t kink it or pinch it while you’re threading it through. Go slow here. A cable that gets kinked now usually shows up later as a keypad that works some days and not others, and by then it’s a lot harder to trace.
Step 4: Attach the Interior Mounting Plate
Back inside, feed the wire coming through the door into the bracket’s notch. Screw the bracket to the door. Check that it’s sitting straight. A crooked mounting plate looks minor now.
It turns into a real alignment headache once you calibrate the lock. Use a level if you have one handy, or just eyeball it against the door edge twice before you tighten the final screw all the way down.
Step 5: Connect and Secure the Interior Unit
Plug the wire into the interior lock assembly. Fit the assembly over the mounting plate. Secure it with the housing screws, but check that the wire isn’t getting pinched as you tighten them.
This is the same spot where I see the most intermittent keypad problems later, so take an extra ten seconds here. Tighten the screws evenly, a little at a time, rather than cranking one side all the way down first.
Step 6: Insert Batteries and Test the Mechanics
Pop in the batteries and snap the cover on. Before you open any app, manually lock and unlock it. You’re just checking the bolt throws smoothly here. That’s it. No software involved yet.
If the bolt drags or catches at any point, stop and check the latch alignment before you go any further. Fixing it now takes two minutes. Fixing it after the app is paired usually takes a lot longer.
Step 7: Pair and Calibrate the App
Many guides treat this step as optional. It isn’t. Your lock isn’t actually done installing until you finish this part. Download the manufacturer’s app. Pair it to your Wi-Fi or hub.
The app then runs a calibration sequence, teaching the lock exactly how far to throw the bolt to fully catch the strike plate. Pay attention here: if you hear grinding or resistance during calibration, that’s your door telling you something. It’s not a lock problem.
Where Smart Lock Installations Go Wrong
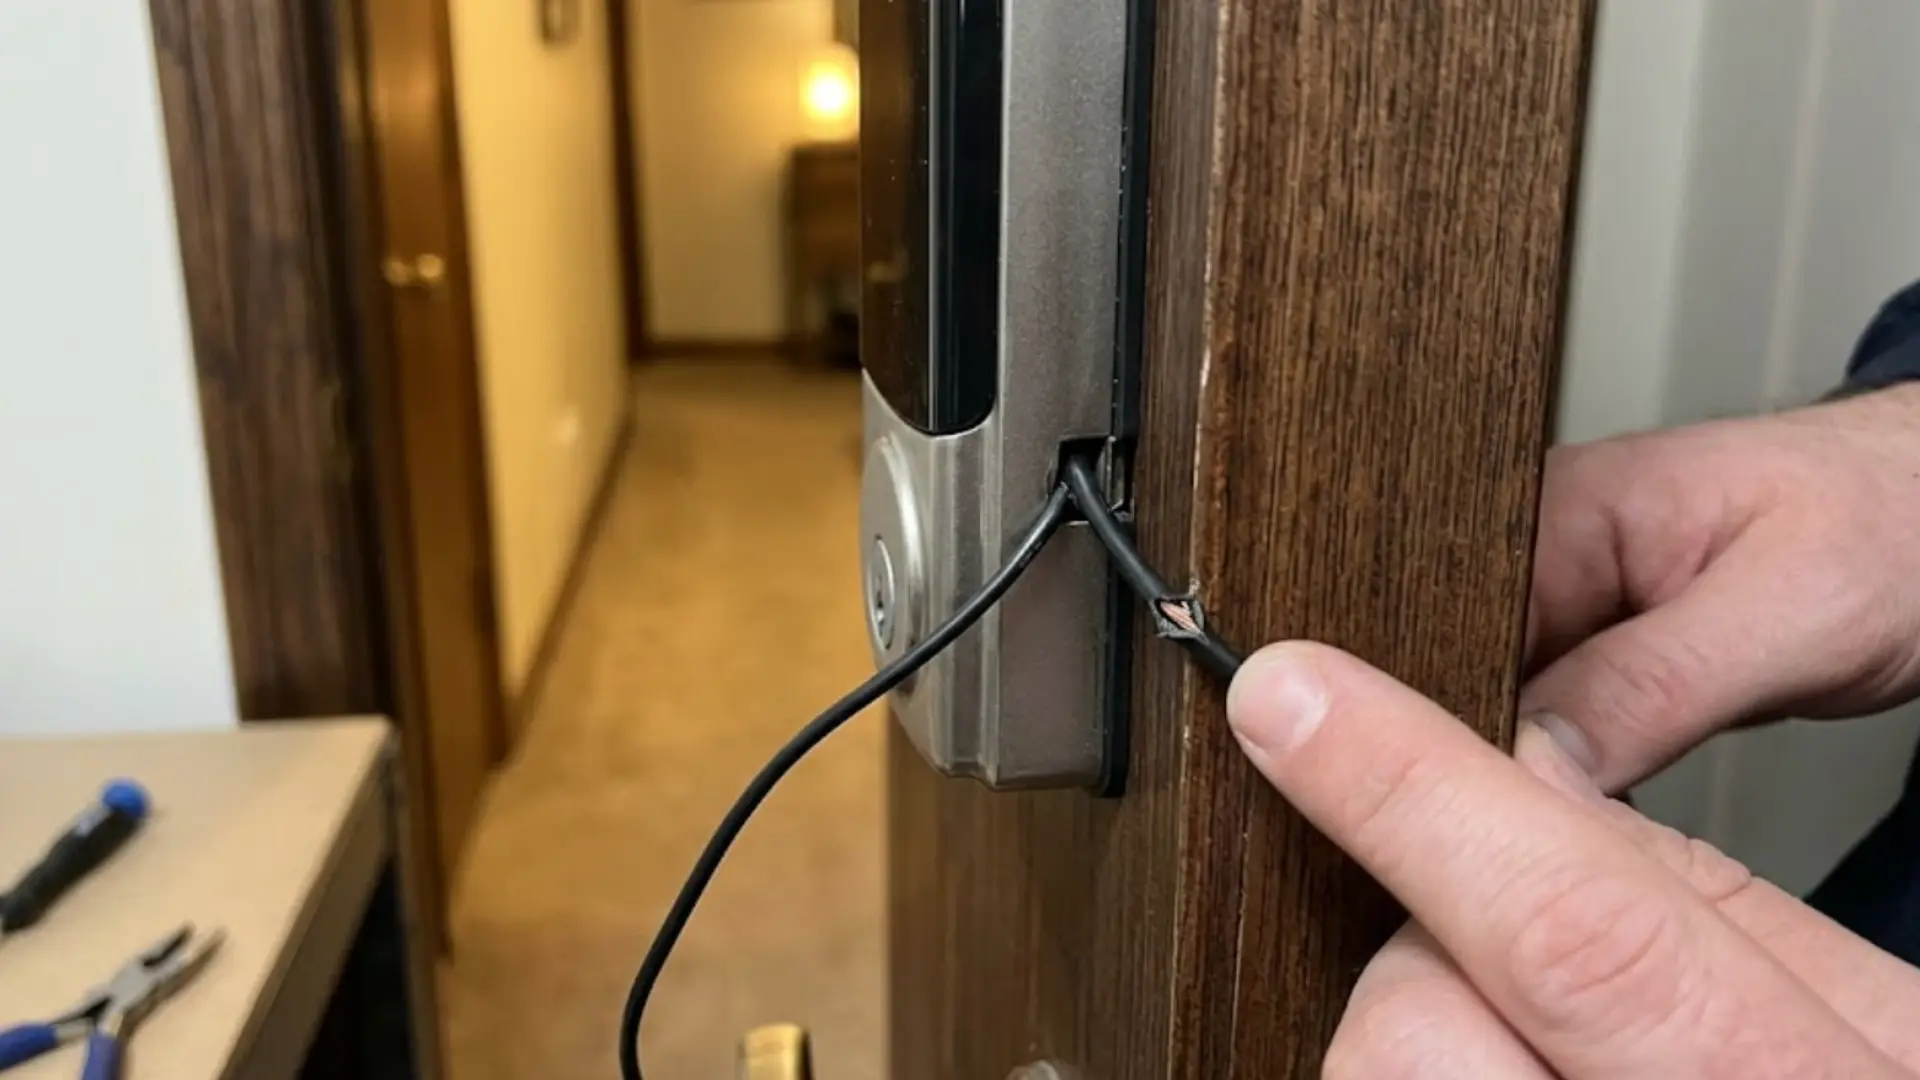
I want to be direct about something: most post-install problems aren’t a bad lock. They come down to two things, alignment and wiring, and both are worth understanding, not just recognizing by symptom.
Wood doors swell and shrink with the seasons. An install that calibrated perfectly in spring can start to grind by summer as the door swells and pushes against the strike plate. Here’s why: calibration teaches the motor one exact distance to throw the bolt, based on the strike plate’s position at that moment.
When the door shifts, the plate isn’t there anymore, but the motor still throws that same fixed distance. That resistance is the grinding you hear, and repeated cycles wear the motor down early. The fix is to adjust the strike plate, not recalibrate the app.
The second failure point is the wiring, which is usually pinched during assembly. That causes an intermittent keypad or app connection, not a defective unit. Check the wiring first before you assume the lock itself is broken.
How to Confirm Your Smart Lock Is Installed Correctly
Before you call the job done, run through this short check. It takes two minutes and saves you a headache later.
- With the door still open, manually test the bolt’s throw a few times. It should move with zero resistance.
- Confirm the app shows lock and unlock status in real time, not a delayed or stale reading.
- Test the keypad code. If your lock came with a backup key, test that too.
Do this while the door is still open. It’s far easier to adjust the strike plate now than after the door’s shut, and you’re troubleshooting blind.
Both access methods should work independently of each other.
Final Thoughts
Getting a smart lock installation right comes down to patience in a few key spots, not raw skill.
The hardware itself is simple: pull the old deadbolt, seat the new latch correctly, and wire the keypad without pinching anything.
What actually separates a lock that lasts from one that needs a service call is calibration and alignment, since a shifting door will eventually tell on itself through grinding or resistance.
Catch that early, and you’re fine. Skip the testing checklist, and you’re troubleshooting blind later.
I’ve covered every step, where things go wrong, and how to confirm your work before you trust it. Try it this weekend, and let me know how your install goes.
Frequently Asked Questions
How long do smart lock batteries actually last?
Most smart locks last 6 months to a year on a set of standard batteries, depending on how often you lock and unlock. Many models send a low-battery alert through the app well before they die, and some even let you power the keypad temporarily with a 9-volt battery in an emergency.
Can a smart lock be hacked?
Any Wi-Fi or Bluetooth-connected device carries some risk, but reputable smart locks use encrypted connections and require a paired app or physical proximity to unlock. The bigger real-world risk isn’t hacking, it’s a weak or reused passcode, so change the default code the moment you finish setup.
What happens to a smart lock during a power outage or Wi-Fi outage?
The lock itself still works, since it runs on batteries, not house power. A Wi-Fi outage just means you temporarily lose access to the remote app and notifications. You can still lock and unlock the door manually with the keypad, fingerprint, or backup key the entire time.