

Changing a lock sounds simple until you’re standing in a hardware aisle staring at ten options, wondering if you even need a new lock at all. I get it. The tricky part isn’t the screwdriver work. It’s figuring out what to buy before you touch anything.
This guide walks through the two decisions that actually matter, the tools you need, the steps in order, the mistakes that wreck an otherwise fine install, and how to check your work when you’re done.
Whether you’re rekeying an old lock or picking between traditional and smart, you’ll know exactly what to do next.
How Do You Decide What Kind of Lock to Install?
Changing a lock means making two decisions, not one. Most people mix them together. That’s usually where they get stuck.
The first question: does the hardware even need to come out?
If the lock still works and you just want new keys, you probably don’t need to replace anything.
Maybe you moved into a place with an unknown key history. Maybe you lost a set. Maybe a tenant left and you want their old key dead. In all these cases, rekeying is usually enough.
Here’s how rekeying works: a locksmith swaps the pins inside the existing cylinder. The new key fits those pins. The old key doesn’t. Nothing gets replaced, and nothing gets reinstalled.
Replacement only makes sense if the lock is worn out, damaged, the wrong style, or missing something you actually want.
Once you decide to replace, question two shows up: traditional or smart?
I want to clear up a mistake I see all the time. People treat smart locks like a whole different category of hardware. They’re not.
Almost every smart deadbolt fits the same standard backset, either 2⅜” or 2¾”, and the same door thickness, usually 1¾”, as a traditional deadbolt. That means you’re not choosing a different install. You’re choosing whether you want electronics and connectivity on top of the same physical lock.
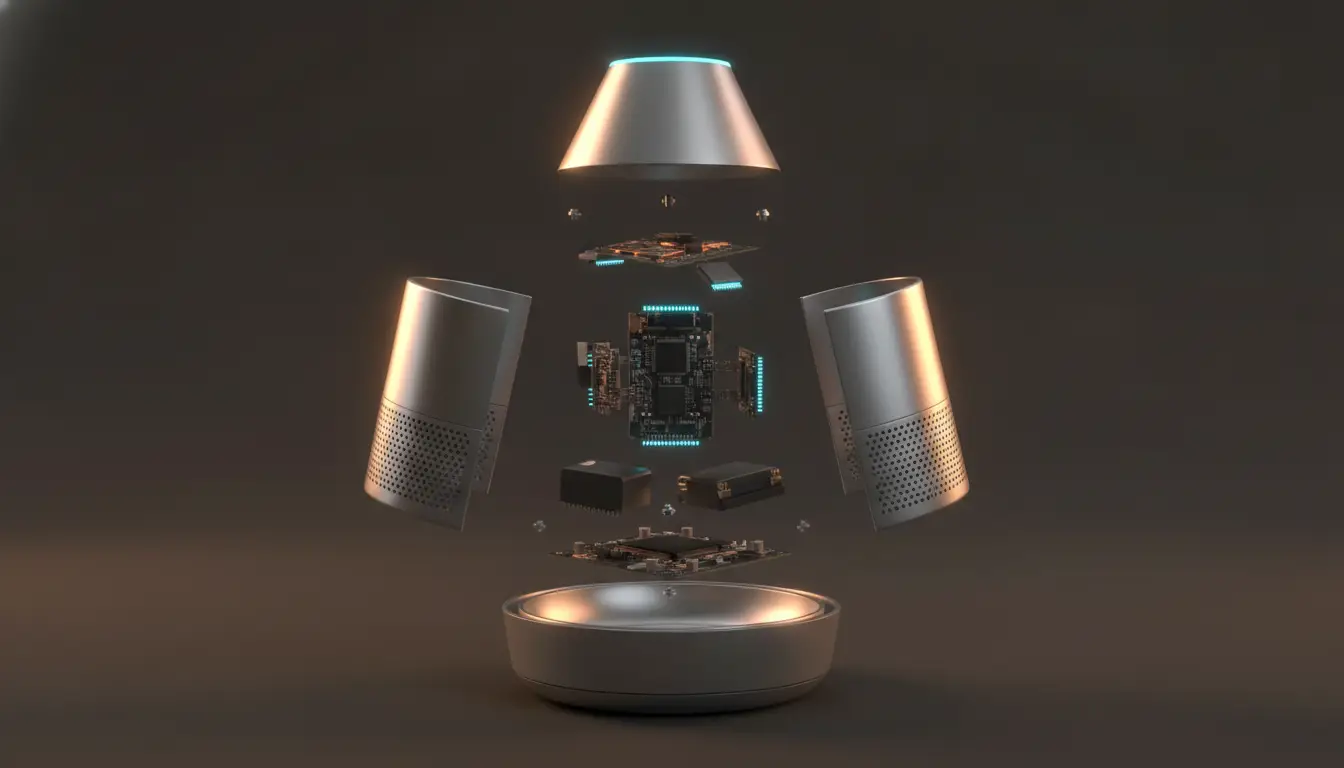
And that choice branches one more time. A Bluetooth-only smart lock usually needs a hub, like a smart speaker or a bridge device, to give you app or voice control from outside the house. A WiFi-native lock skips that step and connects to your network on its own.
If you already own a smart speaker, that changes the math. A cheaper Bluetooth lock might get you almost everything a pricier WiFi lock does.
What Tools and Measurements Do You Need?
The tools barely change between a smart lock and a traditional one. A Phillips-head screwdriver handles almost every install, smart or not. The mounting hardware and the bore hole stay the same either way.
Here’s where the smart lock adds a step, and it happens before you touch the door, not during. Check the battery type and count the lock needs. Check what the app or account setup asks for.
I’ve seen people get halfway through the door, stop, and try to set up an account on their phone with the door hanging open. That’s not the moment for it.
One mistake wrecks either install the same way: skipping the backset and door-thickness measurement.
A lock built for 2⅜” won’t sit right in a door prepped for 2¾”. And you won’t find out until the old hardware is already off, which is the worst possible time to learn it.
How Do You Actually Change the Lock, Step by Step?
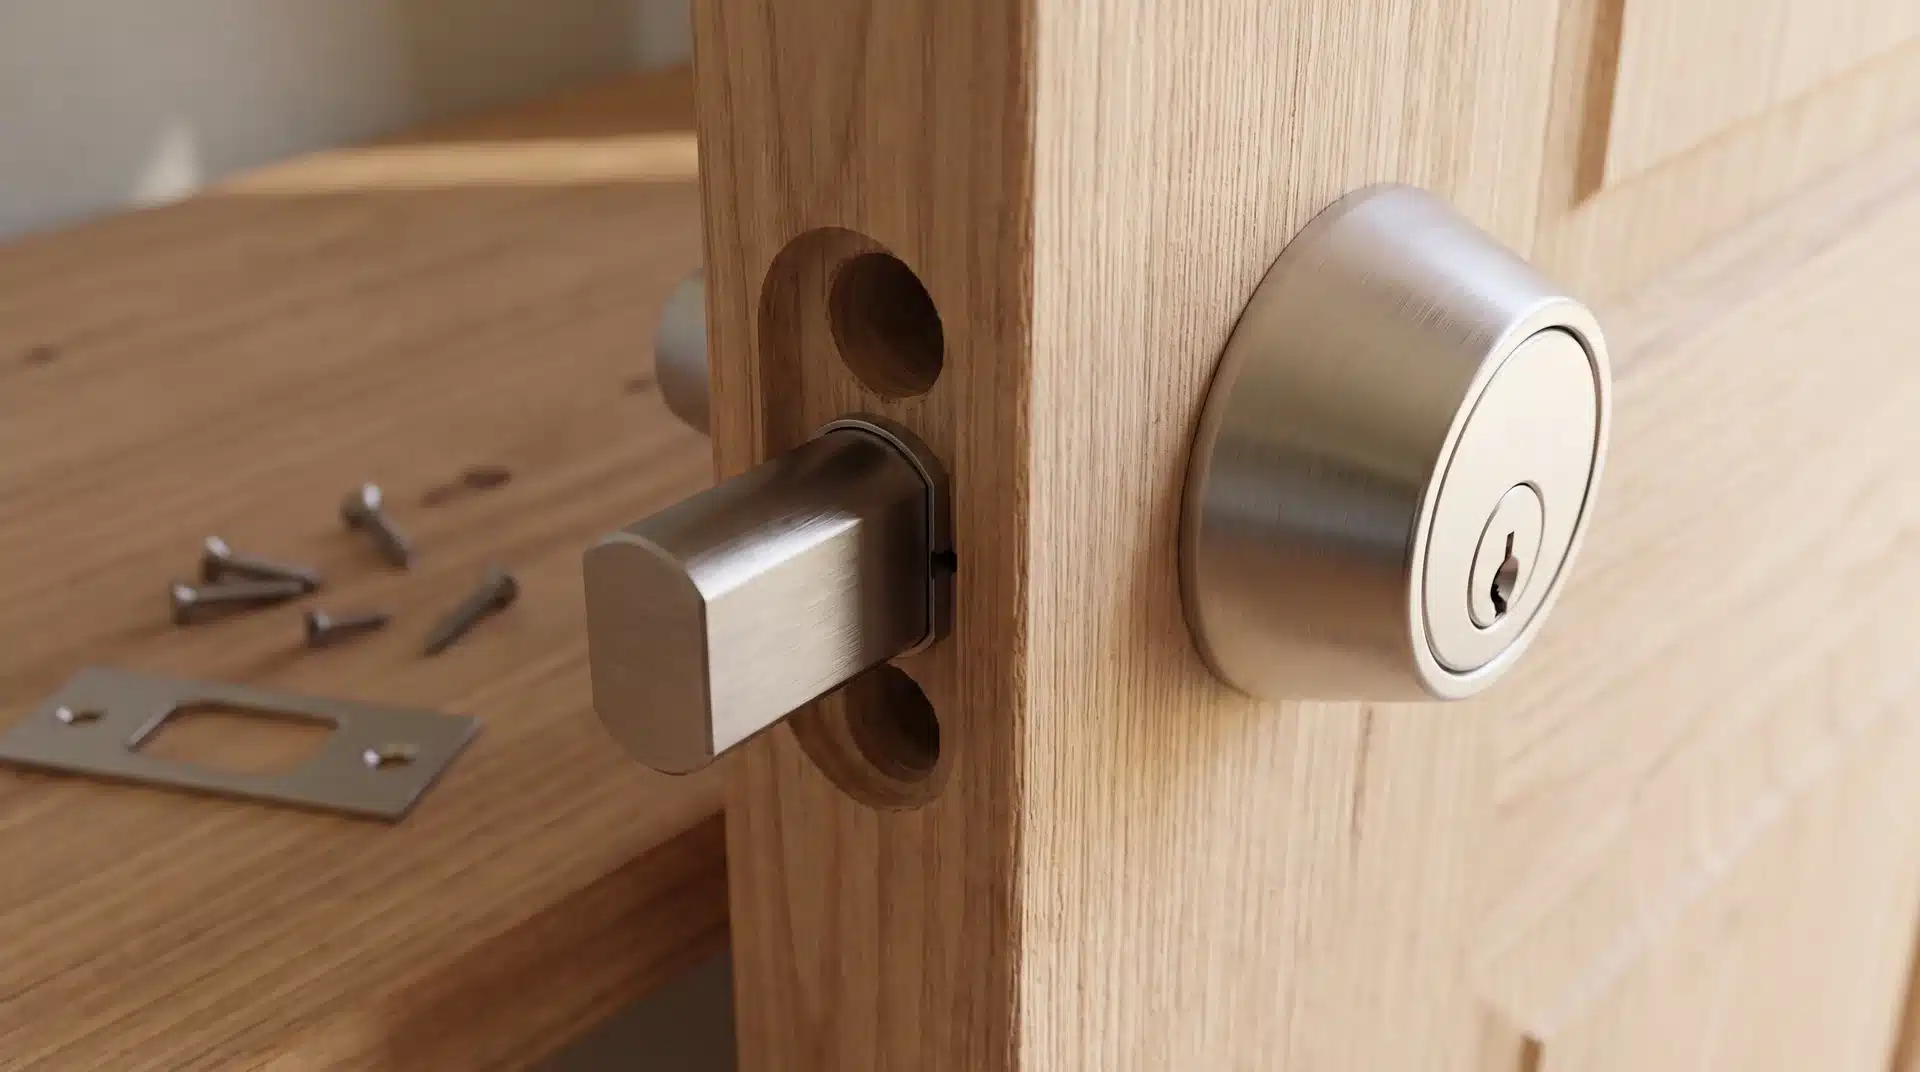
The steps are the same whether you’re putting in a traditional deadbolt or a smart one. The order doesn’t change. Only one thing gets added at the very end, and only for smart locks.
Here’s the order, start to finish:
- Remove the old hardware. Unscrew the interior faceplate, then pull the interior and exterior halves apart.
- Remove the latch. Take out the two screws holding the latch plate on the door’s edge, then slide the old latch out.
- Install the new latch. Make sure the angled side of the bolt faces the direction the door swings shut.
- Install the new lock. Slide the exterior mechanism through the bore hole so it lines up with the latch, then attach the interior plate.
- Attach the strike plate. Put it on the door jamb where the bolt will land.
That’s the whole mechanical process. Get any single step wrong and the next one won’t line up right.
Get the latch backward and you won’t notice right away. The door will close normally, right up until the bolt tries to extend and jams against the frame instead. That one mistake causes more headaches than anything else on this list.
If you’re installing a smart lock, there’s one more step before you close the door for the first time.
Pair it to the app or hub first. Make sure the connection actually holds. Skip that, and a failed pairing can leave you locked out.
Here’s something I’ve noticed: on a smart lock, a bad mechanical alignment is harder to catch. The motor doesn’t know the latch is off. It just keeps running and making noise, even when the bolt isn’t extending or retracting the way it should.
What Are the Most Common Mistakes When Changing Locks?
Most lock installs fail for the same two boring reasons, and it doesn’t matter if the lock is smart or traditional.
Here’s what actually goes wrong, most often in this order:
- Measurement mismatch. The backset or door thickness doesn’t match what the lock needs, so it won’t sit flush or turn smoothly.
- Over-tightened screws. This pulls the interior and exterior halves too close together and binds the mechanism.
- Pairing before testing, smart locks only. Connecting to WiFi or Bluetooth before checking the mechanical install works means you’re troubleshooting two problems at once.
- Reaching for a power drill instead of a screwdriver. A drill over-torques the screws and strips the holes, which then needs a wood-filler repair before you can even try again.
I’ll flag the third one specifically, because it’s the mistake that’s unique to smart locks. Pair first, test mechanics second, and you’ll spend an afternoon blaming the app for a problem that’s actually a stripped screw hole.
How Do You Know the Lock Is Installed and Connected Correctly?
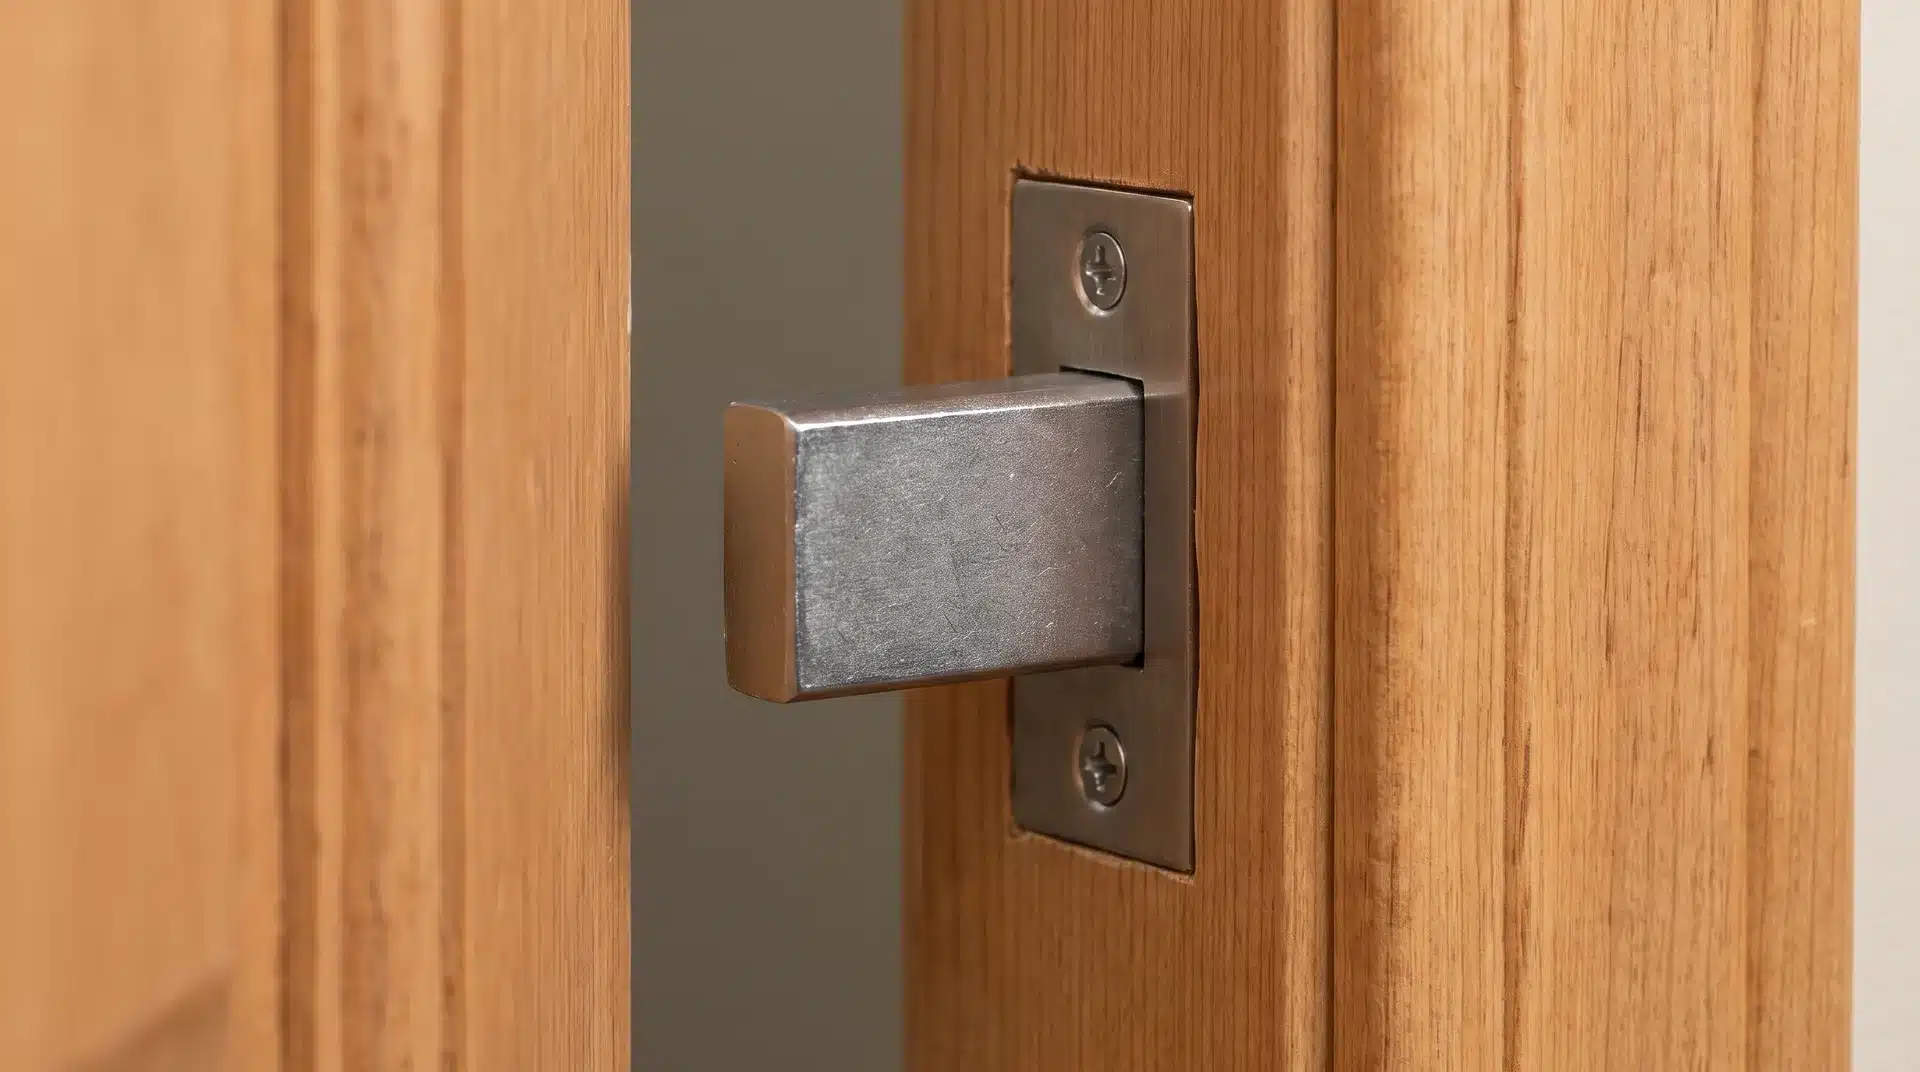
Checking your work happens in two steps, and both need to pass before you trust the lock day to day.
First, the mechanical test. The bolt should slide in and out smoothly with the door open. Then check it again with the door closed. Some misalignments only show up once the door actually sits in the frame.
If that passes, and you’ve got a smart lock, run the connectivity test next. Open the app, or use the voice assistant, and make sure it can lock and unlock the door from outside. A lock that works perfectly by hand can still fail to connect, and that has nothing to do with the hardware.
Here’s a diagnostic tip worth remembering:
If the lock only sticks when the door is closed, that’s almost always a misaligned strike plate. It’s not a connectivity problem, even on a smart lock. I’ve seen people spend twenty minutes in the app hunting for a bug. The whole time, it was sitting in the door frame.
Conclusion
Changing a lock comes down to a short list of decisions, then a short list of steps. I’ll say it straight: most of the trouble comes from skipping the decisions, not fighting the tools.
Know if you’re rekeying or replacing. Know if traditional or smart fits your setup. Measure the door before you buy anything. Then follow the steps in order, and only pair the app once the hardware itself checks out.
Get that order right, and the install, smart or not, takes about as long as it should.
Frequently Asked Questions
Do smart locks fit the same door prep as regular locks?
Yes, in most cases. Smart deadbolts fit the same backset, either 2⅜” or 2¾”, and the same door thickness, usually 1¾”, as traditional locks. The extra complexity is electronics and connectivity, not different hardware prep. Still, check the exact model’s fit before you buy, since some designs vary.
Do I need a smart home hub to change to a smart lock?
Not always. WiFi-native smart locks connect straight to your home network, no separate hub needed. Bluetooth-only models usually need one for remote or voice control. Plenty of households already have a hub anyway, through a smart speaker or a router-based system.
Is changing to a smart lock harder than a traditional one?
Not really. The mechanical install is nearly identical, same screwdriver, same steps. The extra work is pairing the lock to its app before you rely on it, and checking battery or power needs upfront so you’re not mid-install without power.
How much more does a smart lock cost compared to a traditional one?
Traditional deadbolts usually start around $20 to $50. Smart locks generally run $100 to $300 or more, depending on connectivity and features. WiFi-native models tend to cost more than Bluetooth-only ones, since they skip the need for a hub.