
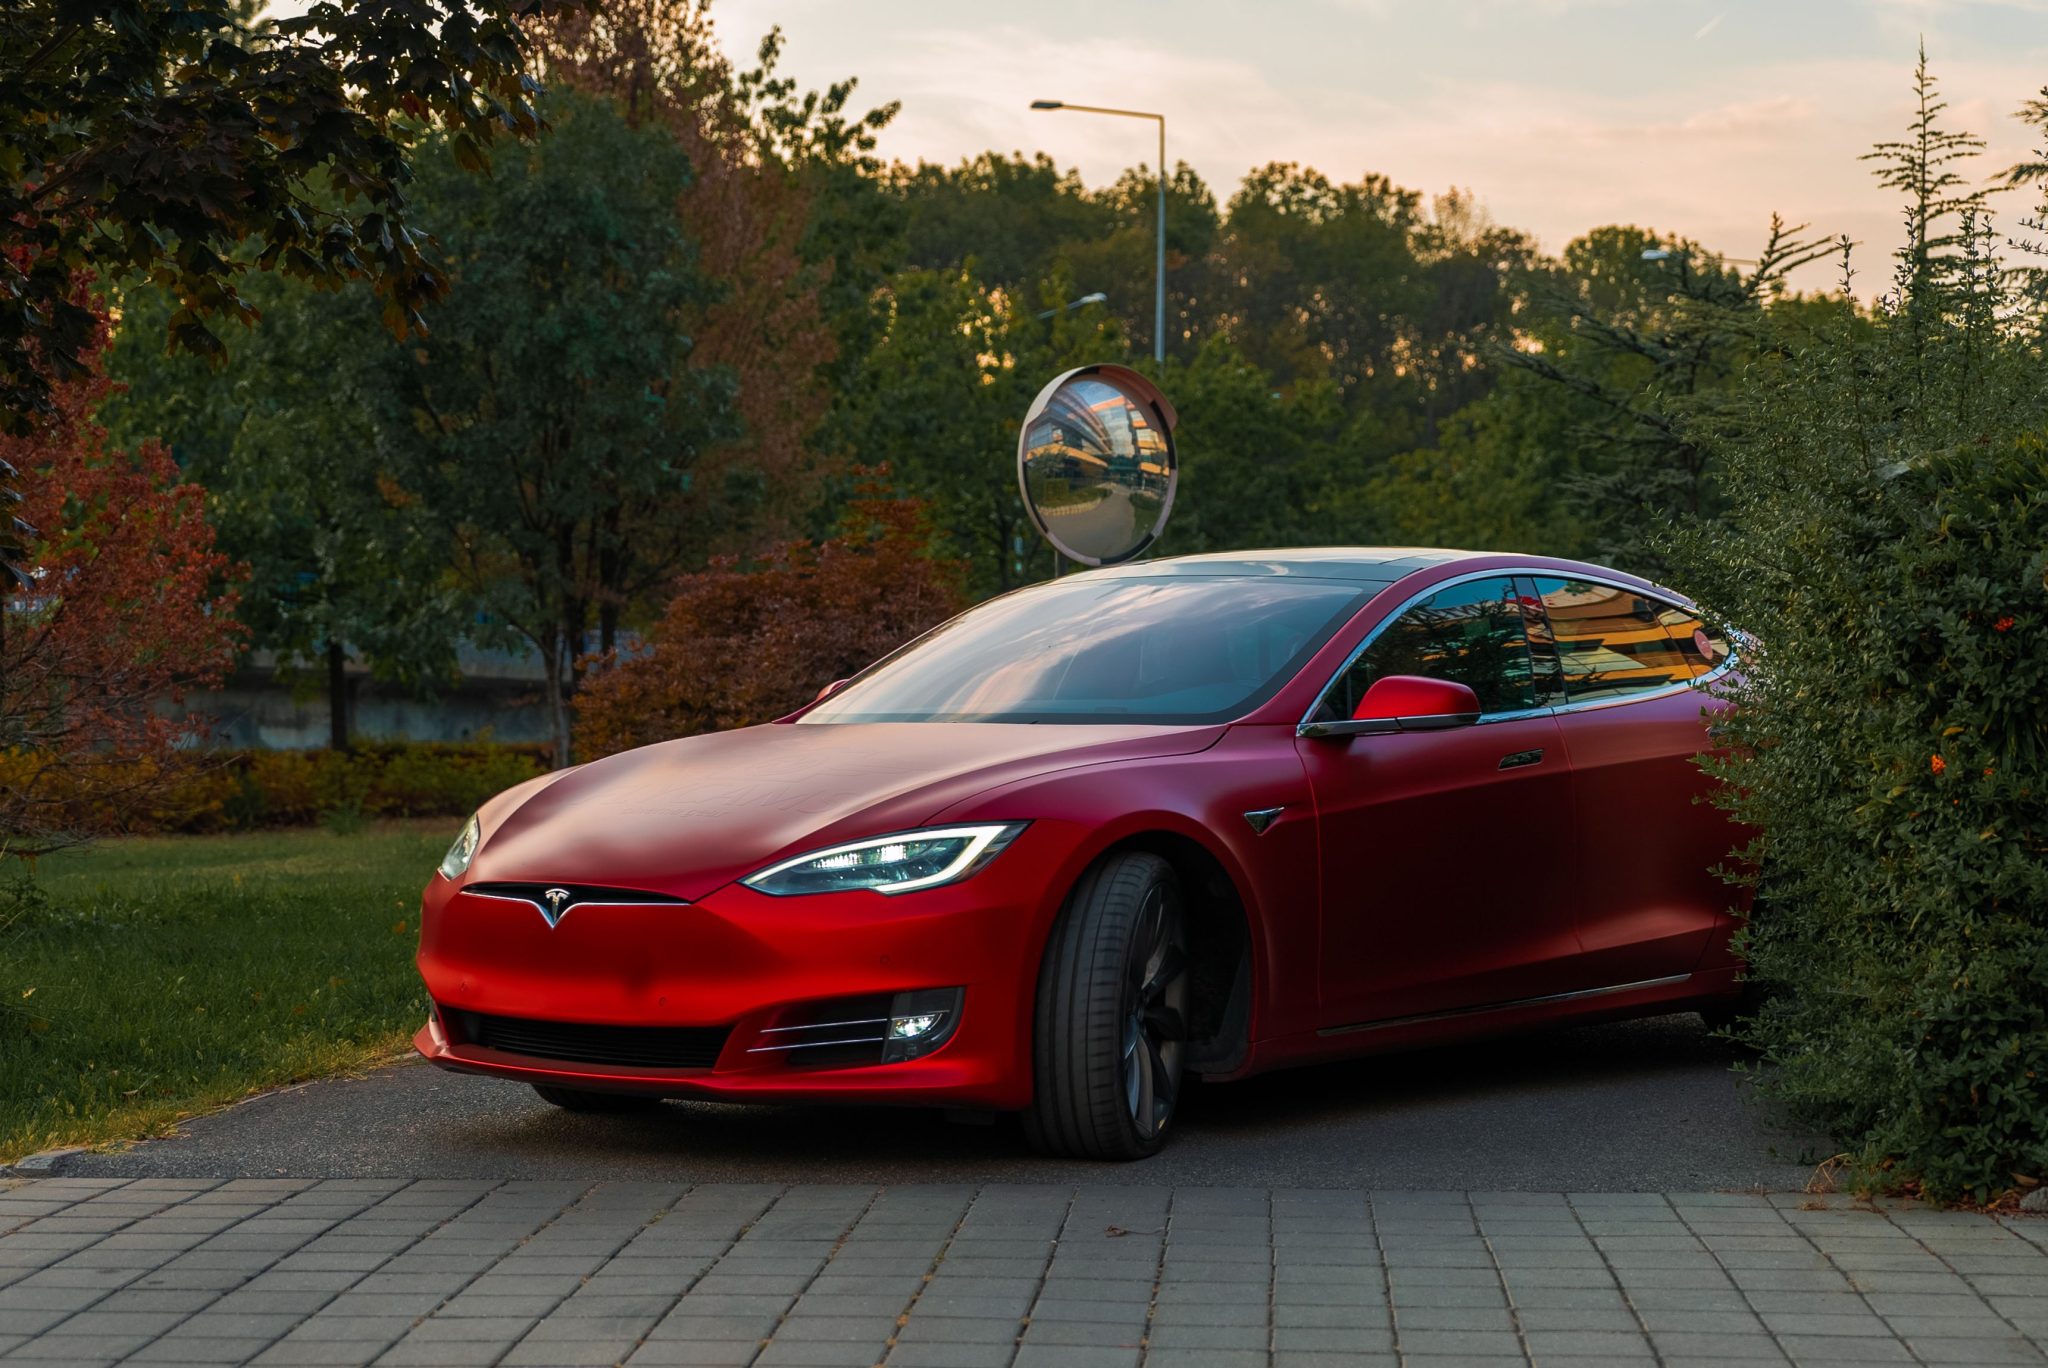
If you take delivery of a Tesla in the Greater Toronto Area any time between November and April, the paint begins its working life in one of the harsher environments in the country. The City of Toronto applies approximately 127,000 tonnes of road salt in an average winter season, according to a 2020 staff report to its Infrastructure and Environment Committee. Salt brine, the grit that goes down with it, and the loose gravel that gets thrown around every March all end up on the front of the car at highway speed on the 401, the Gardiner, and the Don Valley Parkway. Most owners who eventually book paint protection film book it after they have already collected a handful of stone chips, which is an expensive order to do things in, because film goes over whatever is underneath it and does not undo it.
This guide is written as a sequence rather than as a menu of packages. A paint protection film job has roughly five stages, and most of the complaints owners raise afterwards trace back to a decision made at one particular stage and never explained to them.
First, a Plain Definition of What Is Being Installed
Paint protection film, sometimes called a clear bra, is a thermoplastic polyurethane (TPU) film applied over painted panels so that the film absorbs impact, abrasion and chemical staining instead of the paint. The film used on cars is typically around eight thousandths of an inch thick (roughly 0.2 mm), which is why it stops small stones rather than merely resisting a fingernail. It is not the same product as a vinyl wrap, which is thinner, is primarily a colour-change product, and does not behave the same way under impact.
The other property worth understanding before you shop is self-healing. Premium films carry a top layer built with reversible chemistry, so light scratches and swirl marks close up again as the polymer chains move back into place. That movement is temperature dependent. A materials review published in the journal Polymers notes that healing in these polyurethane and polyurea systems depends on chain mobility, which improves as the material warms into a more flexible state, and that some healing chemistries require an external stimulus such as heat. In Toronto terms, that is why a swirl mark disappears on a warm July afternoon and sits there looking identical in a February parking garage.
Step One: Deciding how Much of The Car Gets Covered
Coverage is decided before anything is ordered or cut, and it is the single largest driver of the final invoice. The tiers are fairly standard across the industry, even though the names vary from shop to shop.
- Partial front: the leading edge of the hood, the leading edge of the fenders, the front bumper, and usually the mirrors. It is the cheapest option, and it covers the area that takes the most direct hits, but it leaves a visible film line across the hood.
- Full front: the full hood, the full fenders, the bumper, the headlights, and the mirrors, generally with the A-pillars, the door sills, and the door cups added. This is the most commonly sold tier in the GTA because there is no film line sitting in the middle of the hood.
- Track pack or extended front: a full front plus the rocker panels and the leading portion of the roof, sold to owners who do a lot of highway driving.
- Full body: every painted panel. It is the most expensive option, and it takes the longest, and it is the only tier that keeps the whole car ageing at the same rate.
That last point is the argument experienced installers actually make, and it is not really a sales argument. If you protect only the front, then after a couple of months of ordinary driving you have a perfect front end and a rear half carrying the usual light swirl marks from washing. On a black or dark blue Tesla, on a clean and sunny day, you can see where one stops and the other starts. Owners of white and light silver cars notice this far less, which is a legitimate reason for a white Model 3 owner to stop at a full front and keep the difference.
Step Two: Choosing the Film, and Reading What the Warranty Actually Covers
You will see a handful of film brands named around this decision, including XPEL, SunTek, STEK and 3M, and a reputable shop will tell you which line it is quoting. The differences between current premium gloss films are real but narrower than the marketing suggests, and they mostly concern top coat clarity, hydrophobic behaviour, and the published warranty term, which for a premium film is commonly around ten years. Finish is a separate choice from brand, since the same protection is available in gloss, satin and matte, and matte on a Tesla is a styling decision you cannot easily undo without removing the film.
Two warranties exist and they are not the same thing. The film manufacturer’s warranty covers the material against defects such as yellowing, cracking, and delamination. The installer’s workmanship warranty covers the installation, meaning lifted edges, trapped contamination, and pattern errors. Ask for the term on both, separately, and ask who administers a claim.
It is also worth knowing that Tesla itself sells and warrants film. Under Tesla’s parts, body and paint repair coverage, clear protection film carries a 10-year warranty, with installation defects covered for a shorter period. That is useful context for owners who have been told that adding film somehow puts the vehicle warranty at risk.
Step Three: Prep, Which Is the Stage that Gets Skipped
Film is transparent and stays on for years, so anything left under it stays visible. A proper prep stage means a full wash, a chemical decontamination for iron fallout and tar, a clay treatment, and an inspection of the panels under strong light. On a car that is not brand new, this is also where paint correction happens, because a swirl mark polished out before the film goes on is gone and a swirl mark left in place is sealed in.
New cars are not exempt. A Tesla that has been on a transporter, sat in a delivery lot, and been washed by somebody in a hurry can arrive with rail dust, light marring, and the occasional buffer trail. Ask whether correction is included in the quote or billed separately, because the answer differs between shops.
Step Four: Cutting and Fitting, Where Pre-Cut and Custom Cut Split Apart
This stage decides how the car looks up close for the next several years, and it is the stage quotes explain least well.
A pre-cut installation uses patterns from a plotter, cut from a digital template library for that exact model, with nothing taken off the car. It is faster and cheaper, and the trade-off is that the film ends where the pattern ends, so you can see a fine edge line at the perimeter of the panel.
A custom cut installation means panels and trim are removed, the film is cut with a small allowance all the way around, and the surplus is tucked and hidden behind the edges before everything goes back together. It takes considerably longer, and it costs more, and the result is that you cannot see the film on the car at all.
Described that way, it sounds binary, and in a good shop it is not. The middle ground is an extended pre-cut, where the installer works from the plotter pattern but stretches the material past the pattern line and hides the edge wherever there is room. Whether a shop does this, and where it decides to stop, tells you more about the installer than any brand badge on the window.
One of the studios that works this way and is willing to describe it plainly is ID Protection, a shop inside the City of Vaughan that installs Tesla PPF for Model 3, Model Y, Model S, Model X, and Cybertruck owners across Toronto and the GTA, in coverage tiers running from partial front through to full body.
Their explanation to customers is that a pre-cut job at their studio does not mean lines everywhere, because wherever there is an opportunity to hide material inside a panel they will extend it and tuck it, and on a fender they can lift a single piece without taking the headlight out; what they will not do on a pre-cut job is hide film in the gap between the bumper and the fender, and they say that before the deposit rather than after.
They are equally direct about panels where a pattern does not work at all, such as door cups on a Porsche 911 GTS. Toronto Tesla paint protection film pricing generally follows the same coverage tiers, so the tier you agree to at this stage is the one listed on the invoice.
That is the kind of detail worth chasing in a quote. Ask which edges will be tucked, which will be lined up short, and what the shop does on the panels where the pattern is known to be awkward. A shop that answers in specifics has done the car before.
Step Five: Cure, Handover and The First Week
Film is applied wet, with a slip solution between the film and the paint, and that moisture has to leave. For a day or two afterwards, you may see small pockets of haze or water under the film, particularly along edges and in recesses, and almost all of it clears on its own as the adhesive sets.
The usual aftercare instructions mostly concern the first week: leave the car dry for the period the installer specifies, keep it out of automatic washes with stiff brushes, and use a pH-neutral shampoo. Pressure washing directly into an edge at close range is the one habit that reliably lifts film which would otherwise have stayed put for years.
Get the handover in writing, meaning the film line and finish installed, the coverage tier, both warranty terms, and photographs of the finished car. If the shop registers the manufacturer warranty for you, ask for the confirmation.
What Tesla Ppf Costs in The Gta, and Why Two Quotes Differ so Much
Prices in the Toronto area fall into fairly predictable bands. The numbers below are informed ranges rather than a published index, so treat them as a way of sanity-checking a quote.
- Partial front generally starts around $850 to $1,000.
- Full front generally runs from roughly $1,400 up to about $1,900, with the higher end reflecting custom cut work and larger vehicles.
- Full body on a Tesla generally starts around $4,500 and can reach $7,000 or more once you move to a coloured film or a fully custom cut installation.
Four things move a quote inside those bands: the coverage tier, the model and panel size, whether the job is pre-cut or custom cut, and whether paint correction is included. A quote well below the band is usually cutting the third or fourth of those, and it is fair to ask which one.
Frequently asked questions
Does installing PPF affect a Tesla’s warranty?
No. Paint protection film sits on top of the painted surface and is removable, so it is not a mechanical or electrical modification, and Tesla itself sells clear protection film and warrants it for ten years. If film is ever taken off, it should be removed with heat by an installer rather than pulled cold, which is where paint damage happens.
How long does a Tesla PPF installation take?
It depends on the coverage tier and the cutting method. A partial or full front is usually measured in a day or two, while a full body install takes several days because there are far more panels and, on a custom cut job, a considerable amount of disassembly and reassembly. Custom cut work always takes longer than pre-cut work on the same car.
Does paint protection film turn yellow on a Tesla?
Current premium TPU films are UV stabilised and are markedly more resistant to yellowing than films sold ten or fifteen years ago, and yellowing is normally covered as a defect under the manufacturer’s warranty. Cheaper films and older PVC-based products are a different story, which is one reason it is reasonable to ask which film line a shop is quoting.
Should ceramic coating go on top of PPF?
It is optional, and it is common. Ceramic coating over film adds gloss and makes the film and the surrounding bare paint easier to wash, but it adds no impact protection, so it is a finish upgrade rather than a second layer of armour. If you want both, the order is film first and coating second.
Key takeaways
- Coverage is the biggest cost lever, and it is decided first. Partial front, full front, extended front, and full body are the standard tiers, and the tier you agree to is effectively the invoice.
- Self-healing is temperature-dependent. Light marks close up in warm weather and stay visible in the cold, which is normal behaviour rather than a fault.
- There are two separate warranties. The manufacturer covers the film material and the installer covers the workmanship, and you want the term on both.
- Prep is permanent. Any swirl mark or contamination left on the paint is sealed under the film for the life of the installation.
- Pre-cut versus custom cut is the quality question; quotes explain the worst. Ask which edges get tucked and which get lined up short.
- Dark paint changes the calculation. On black and dark blue cars, the contrast between a protected front and an unprotected rear becomes visible within months, which is a real argument for fuller coverage on those colours and much less of one on white.
The Last Thing Worth Knowing
The most useful thing an owner can do is go and look at a car mid-install before committing. Film work is judged at the edges, in a recess, along a door cup and where a pattern meets a gap, and none of that shows up in a photograph taken from three metres away in good light. Ten minutes next to a half-finished car will tell you more about a shop than an afternoon of reading reviews.